
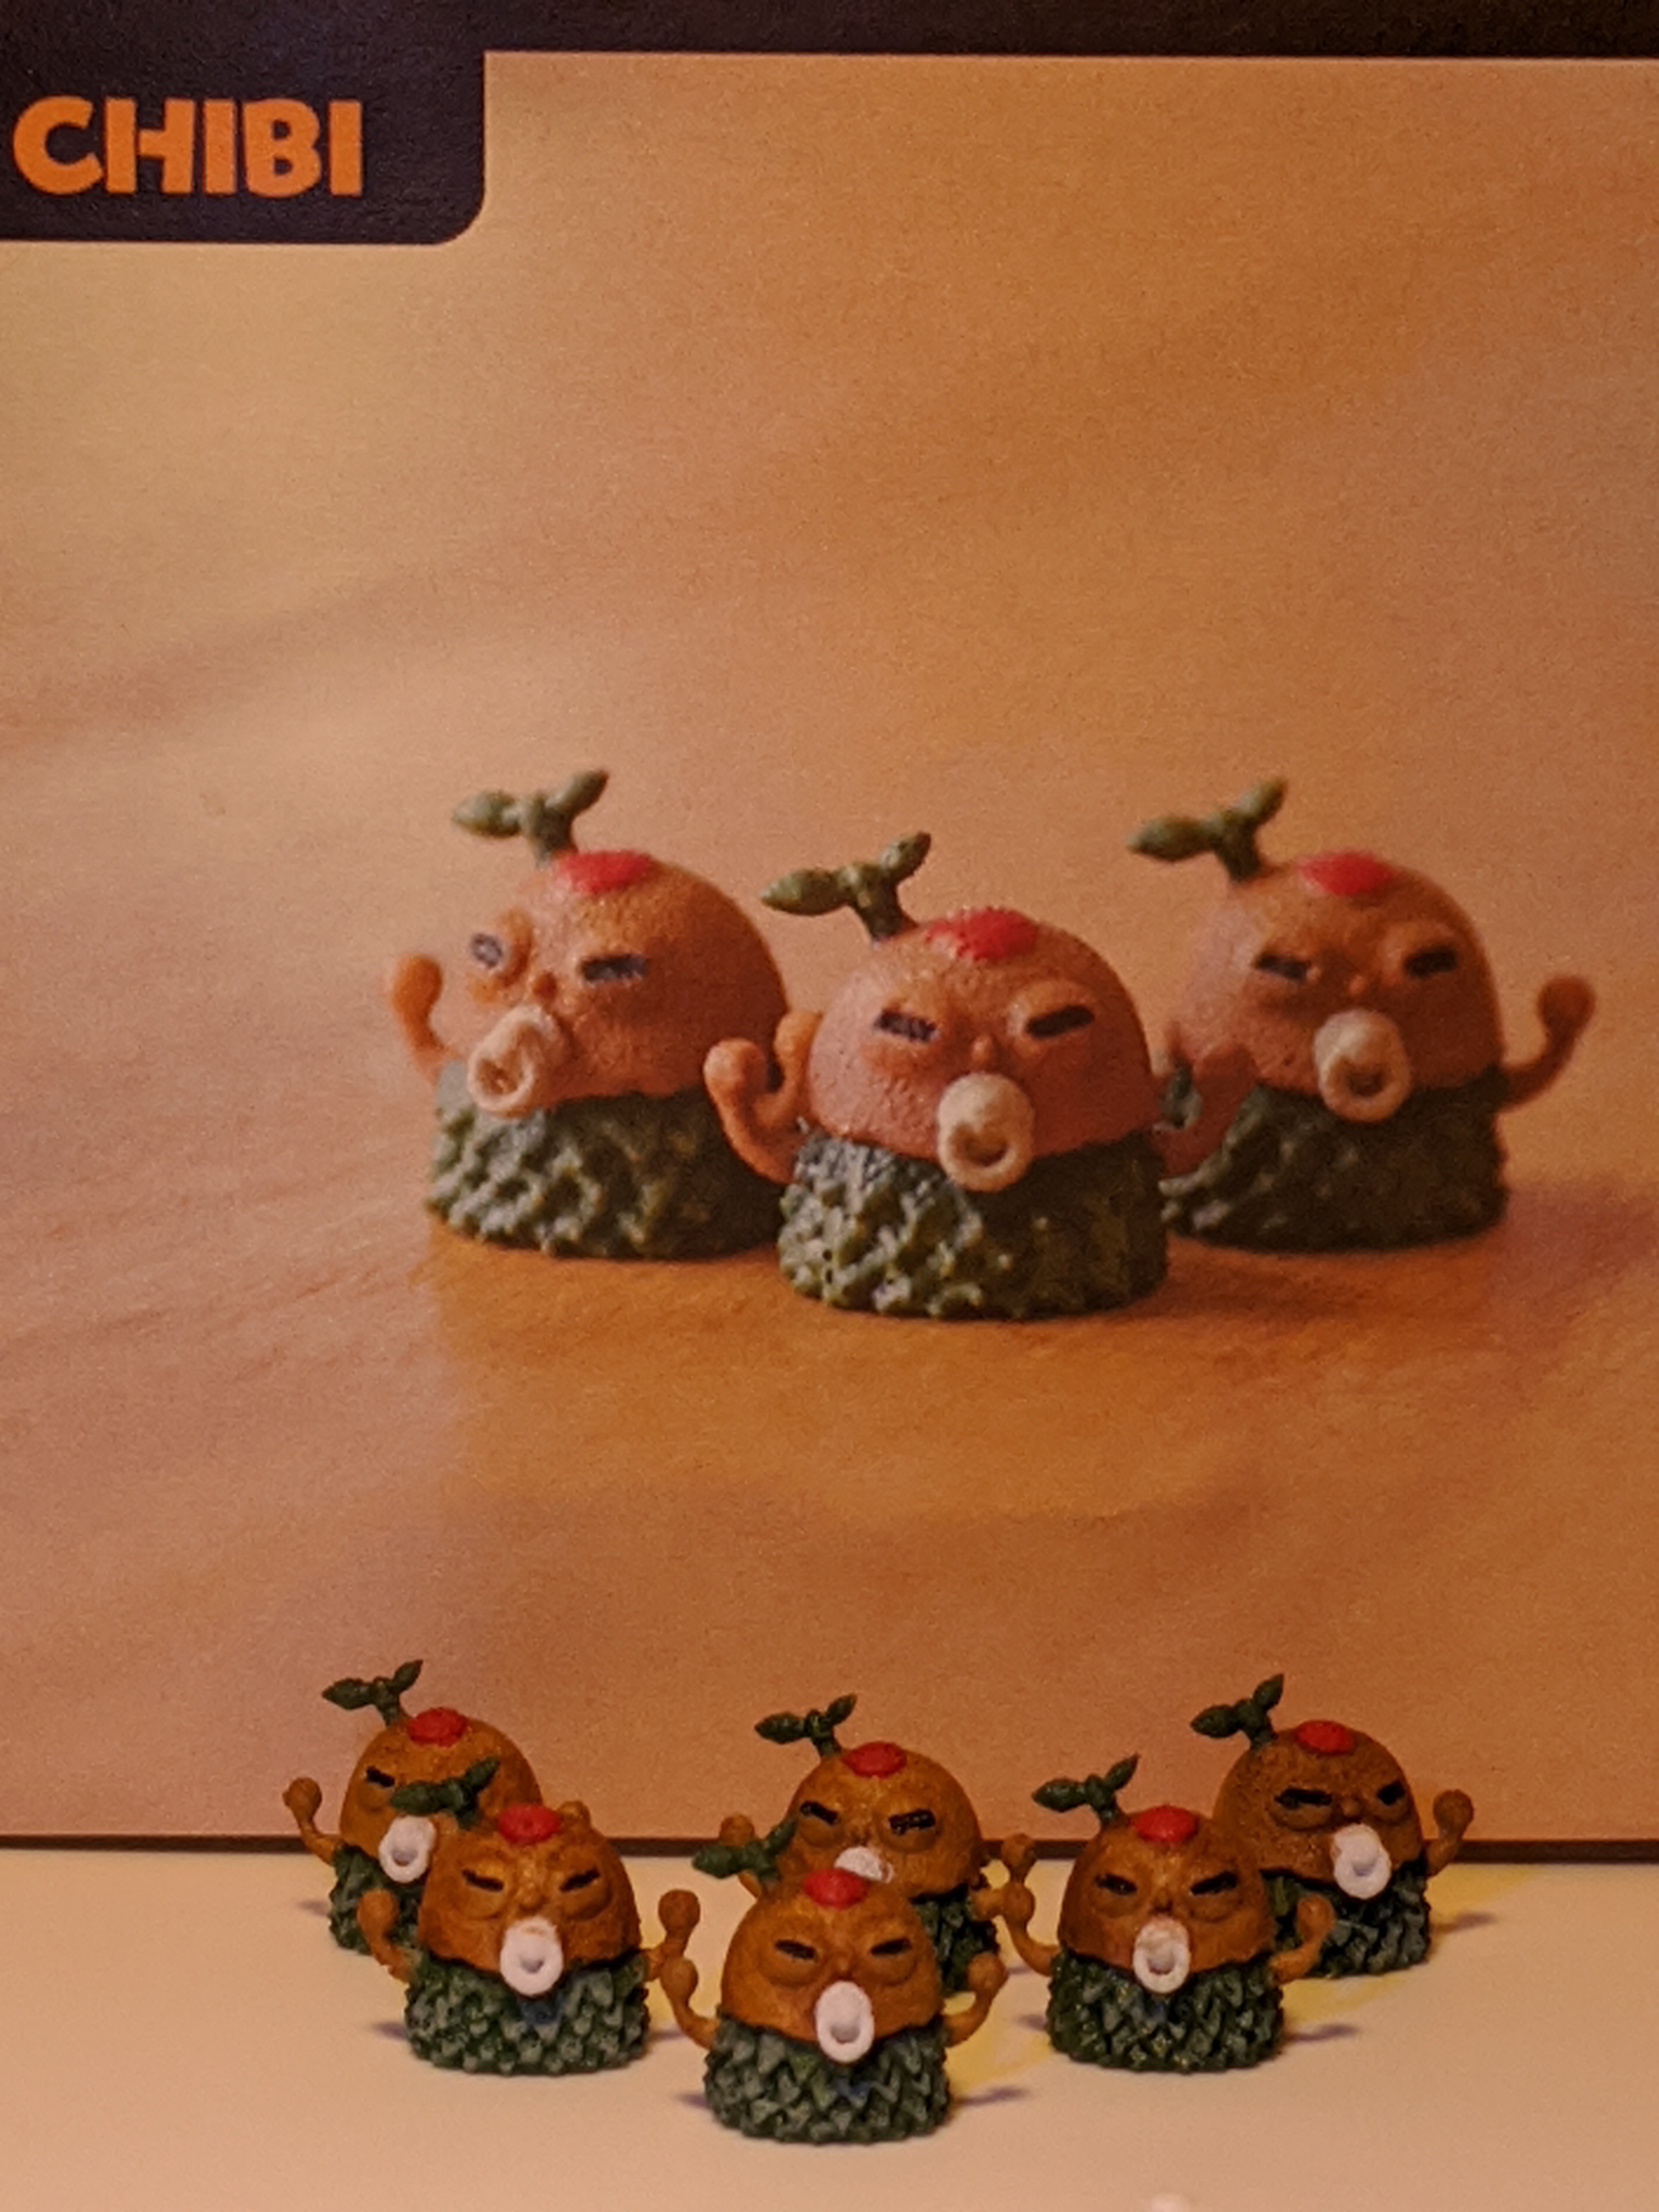
So I’m a big fan of Q-Games the developers of the PixelJunk Monsters game. I’ve played the various versions over the last 10 years. I decided to purchase some 3D printed miniatures from their store https://shop.q-games.com/ . I chose the Chibi and the Tikiman to try to learn how to paint. Below are a few lessons learned as I explored the process of miniatures painting.
The miniatures arrive from Japan with a nice thank you note and a card detailing the suggested colors for painting.
I noted at the bottom of the card that Citadel Colors were used. My first challenge was buying the paints. I found through my research that Citadel sometimes changes the paint color names. Here is a chart I used to convert some of the colors. https://www.dakkadakka.com/wiki/en/Paint_Range_Compatibility_Chart
Here are the PixelJunk Monsters suggested colors I needed to change:
|
new citadel color name
|
|
| Blood Red | Evil Sunz Scarlet |
| Mournfang brown | |
| averland sunset | |
| knarloc green | loren forest |
| sunburst yellow | Flash Gitz Yellow |
| abaddon black | |
| ceranite white |
Naturally I used Amazon to buy my paints.
Games Workshop for one of the colors: https://www.amazon.com/gp/product/B007SBBNB4
And Born to play games for 6 colors and a brush: https://www.amazon.com/gp/product/B07F6XGZQD
I also purchased this magnifier with light: https://www.amazon.com/dp/B0775K3XKS
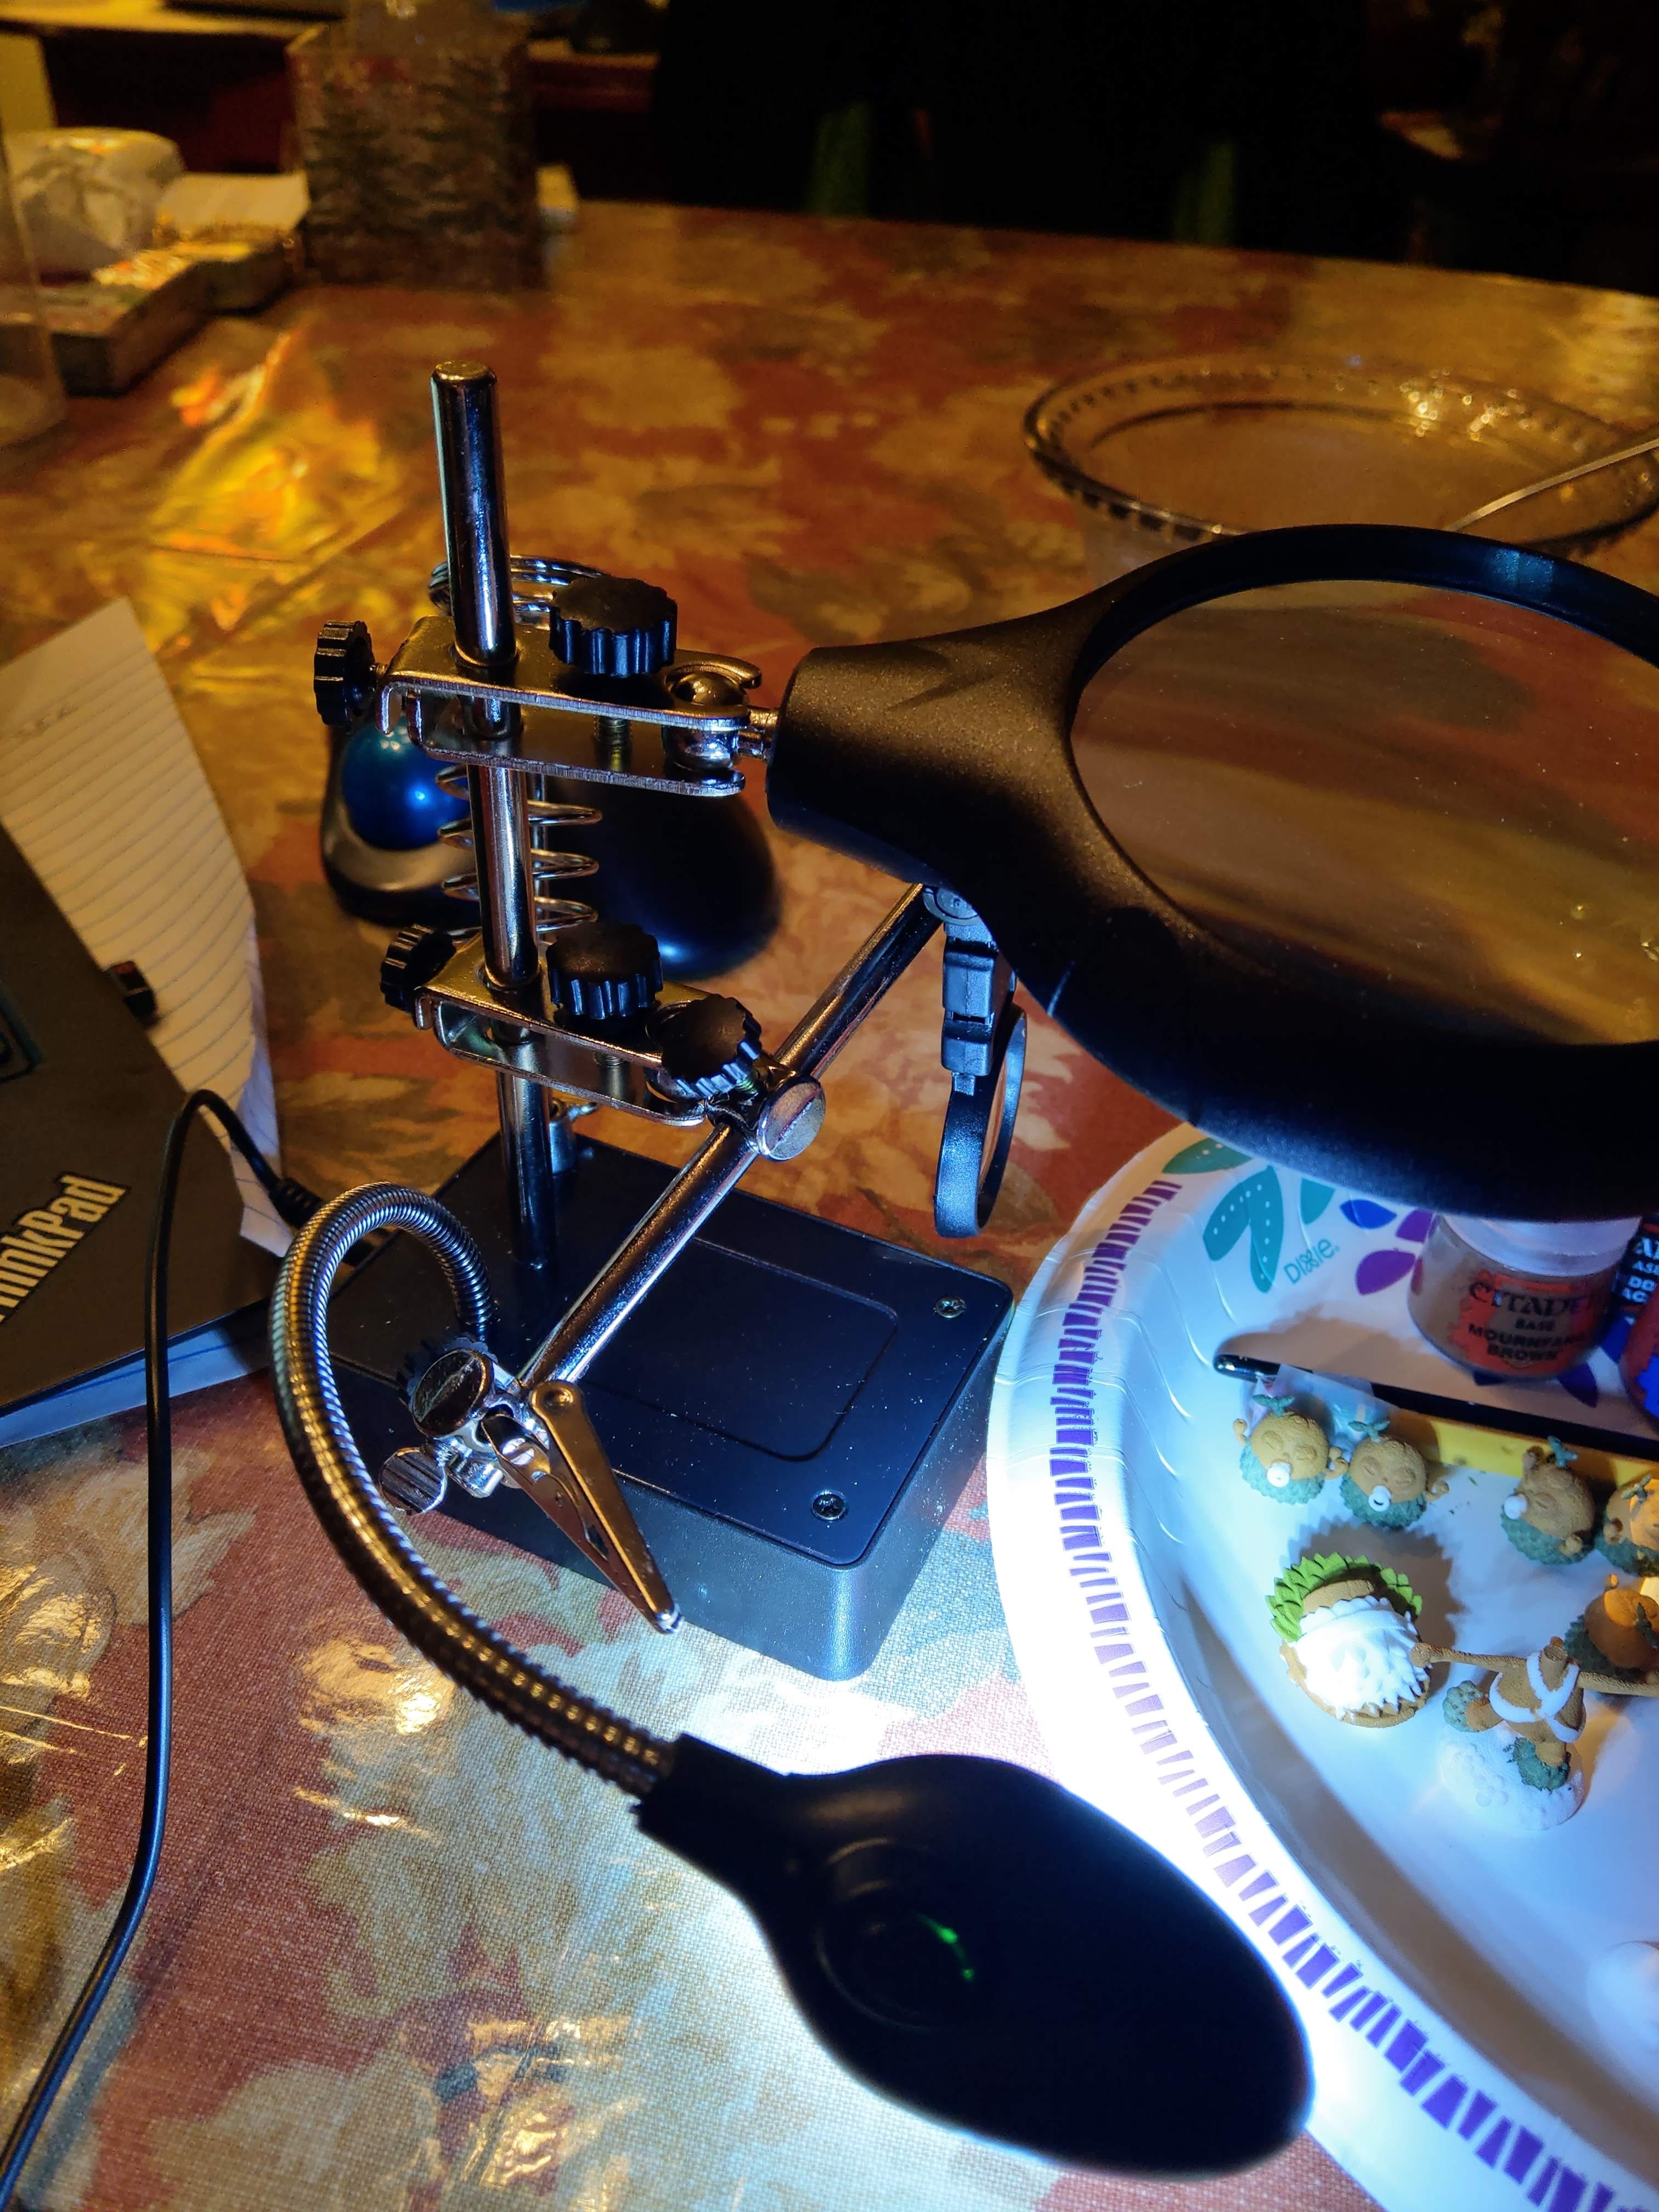
It’s a great addition for the close up detail of miniature painting.
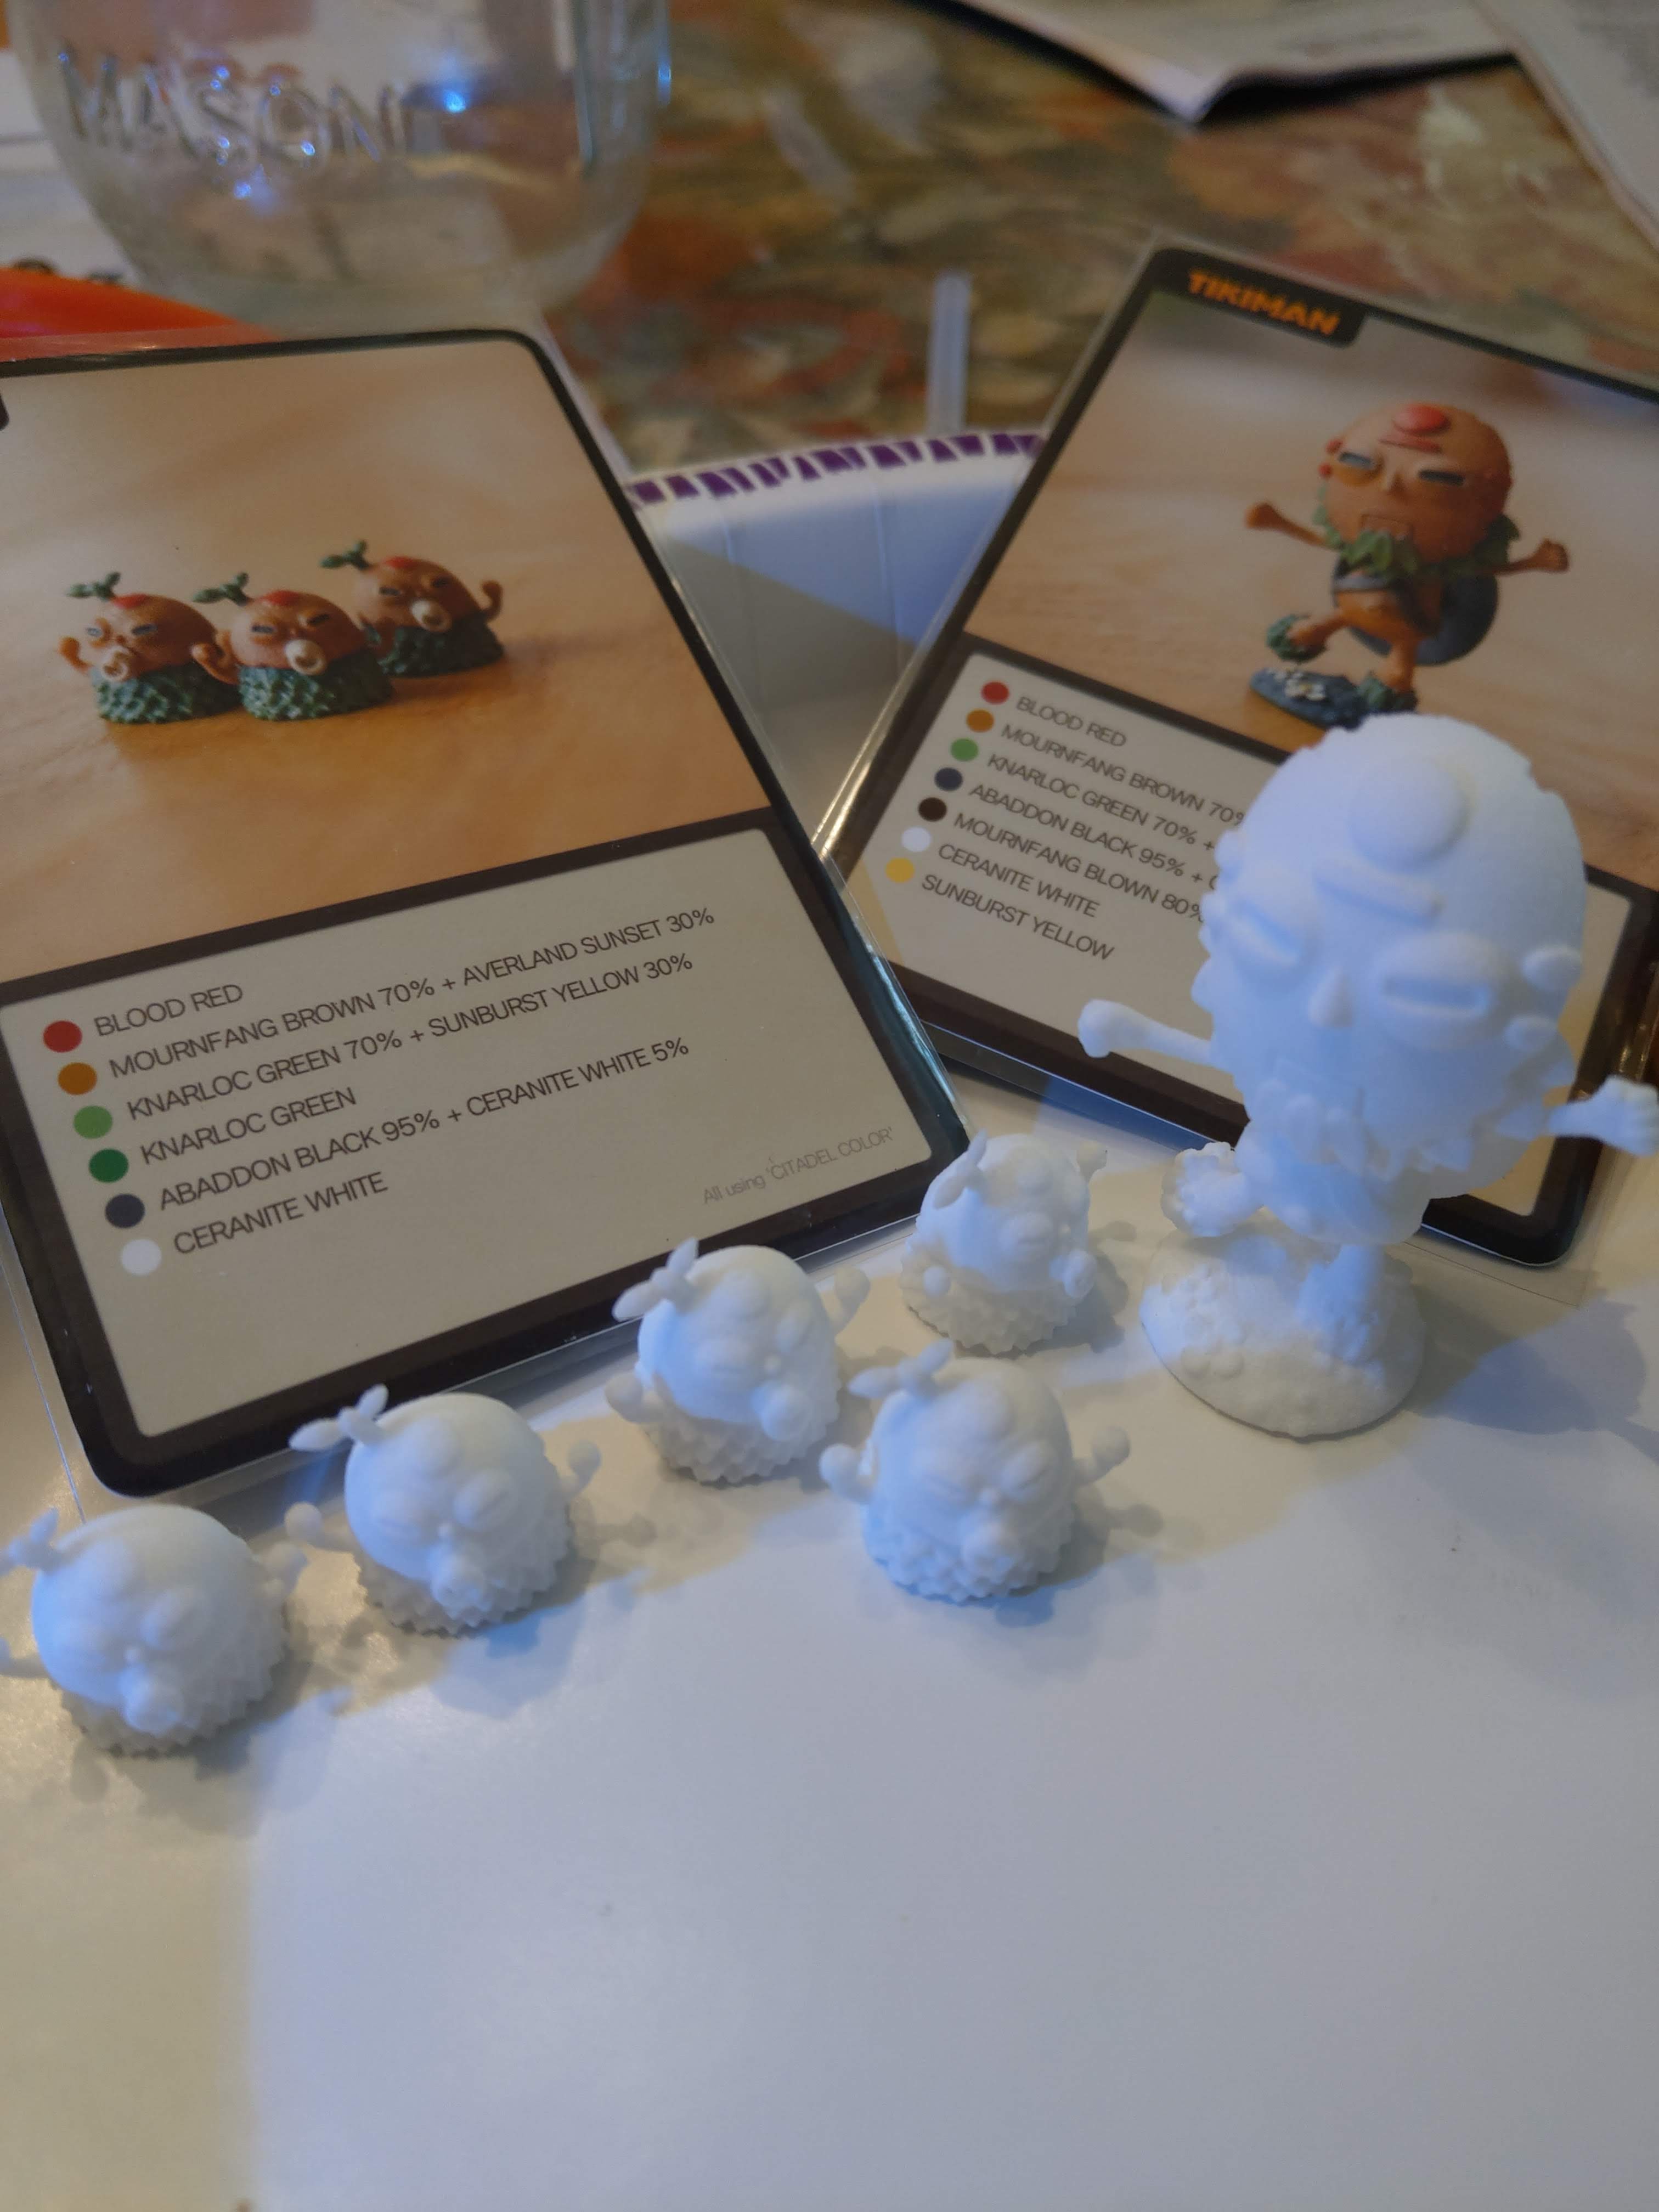
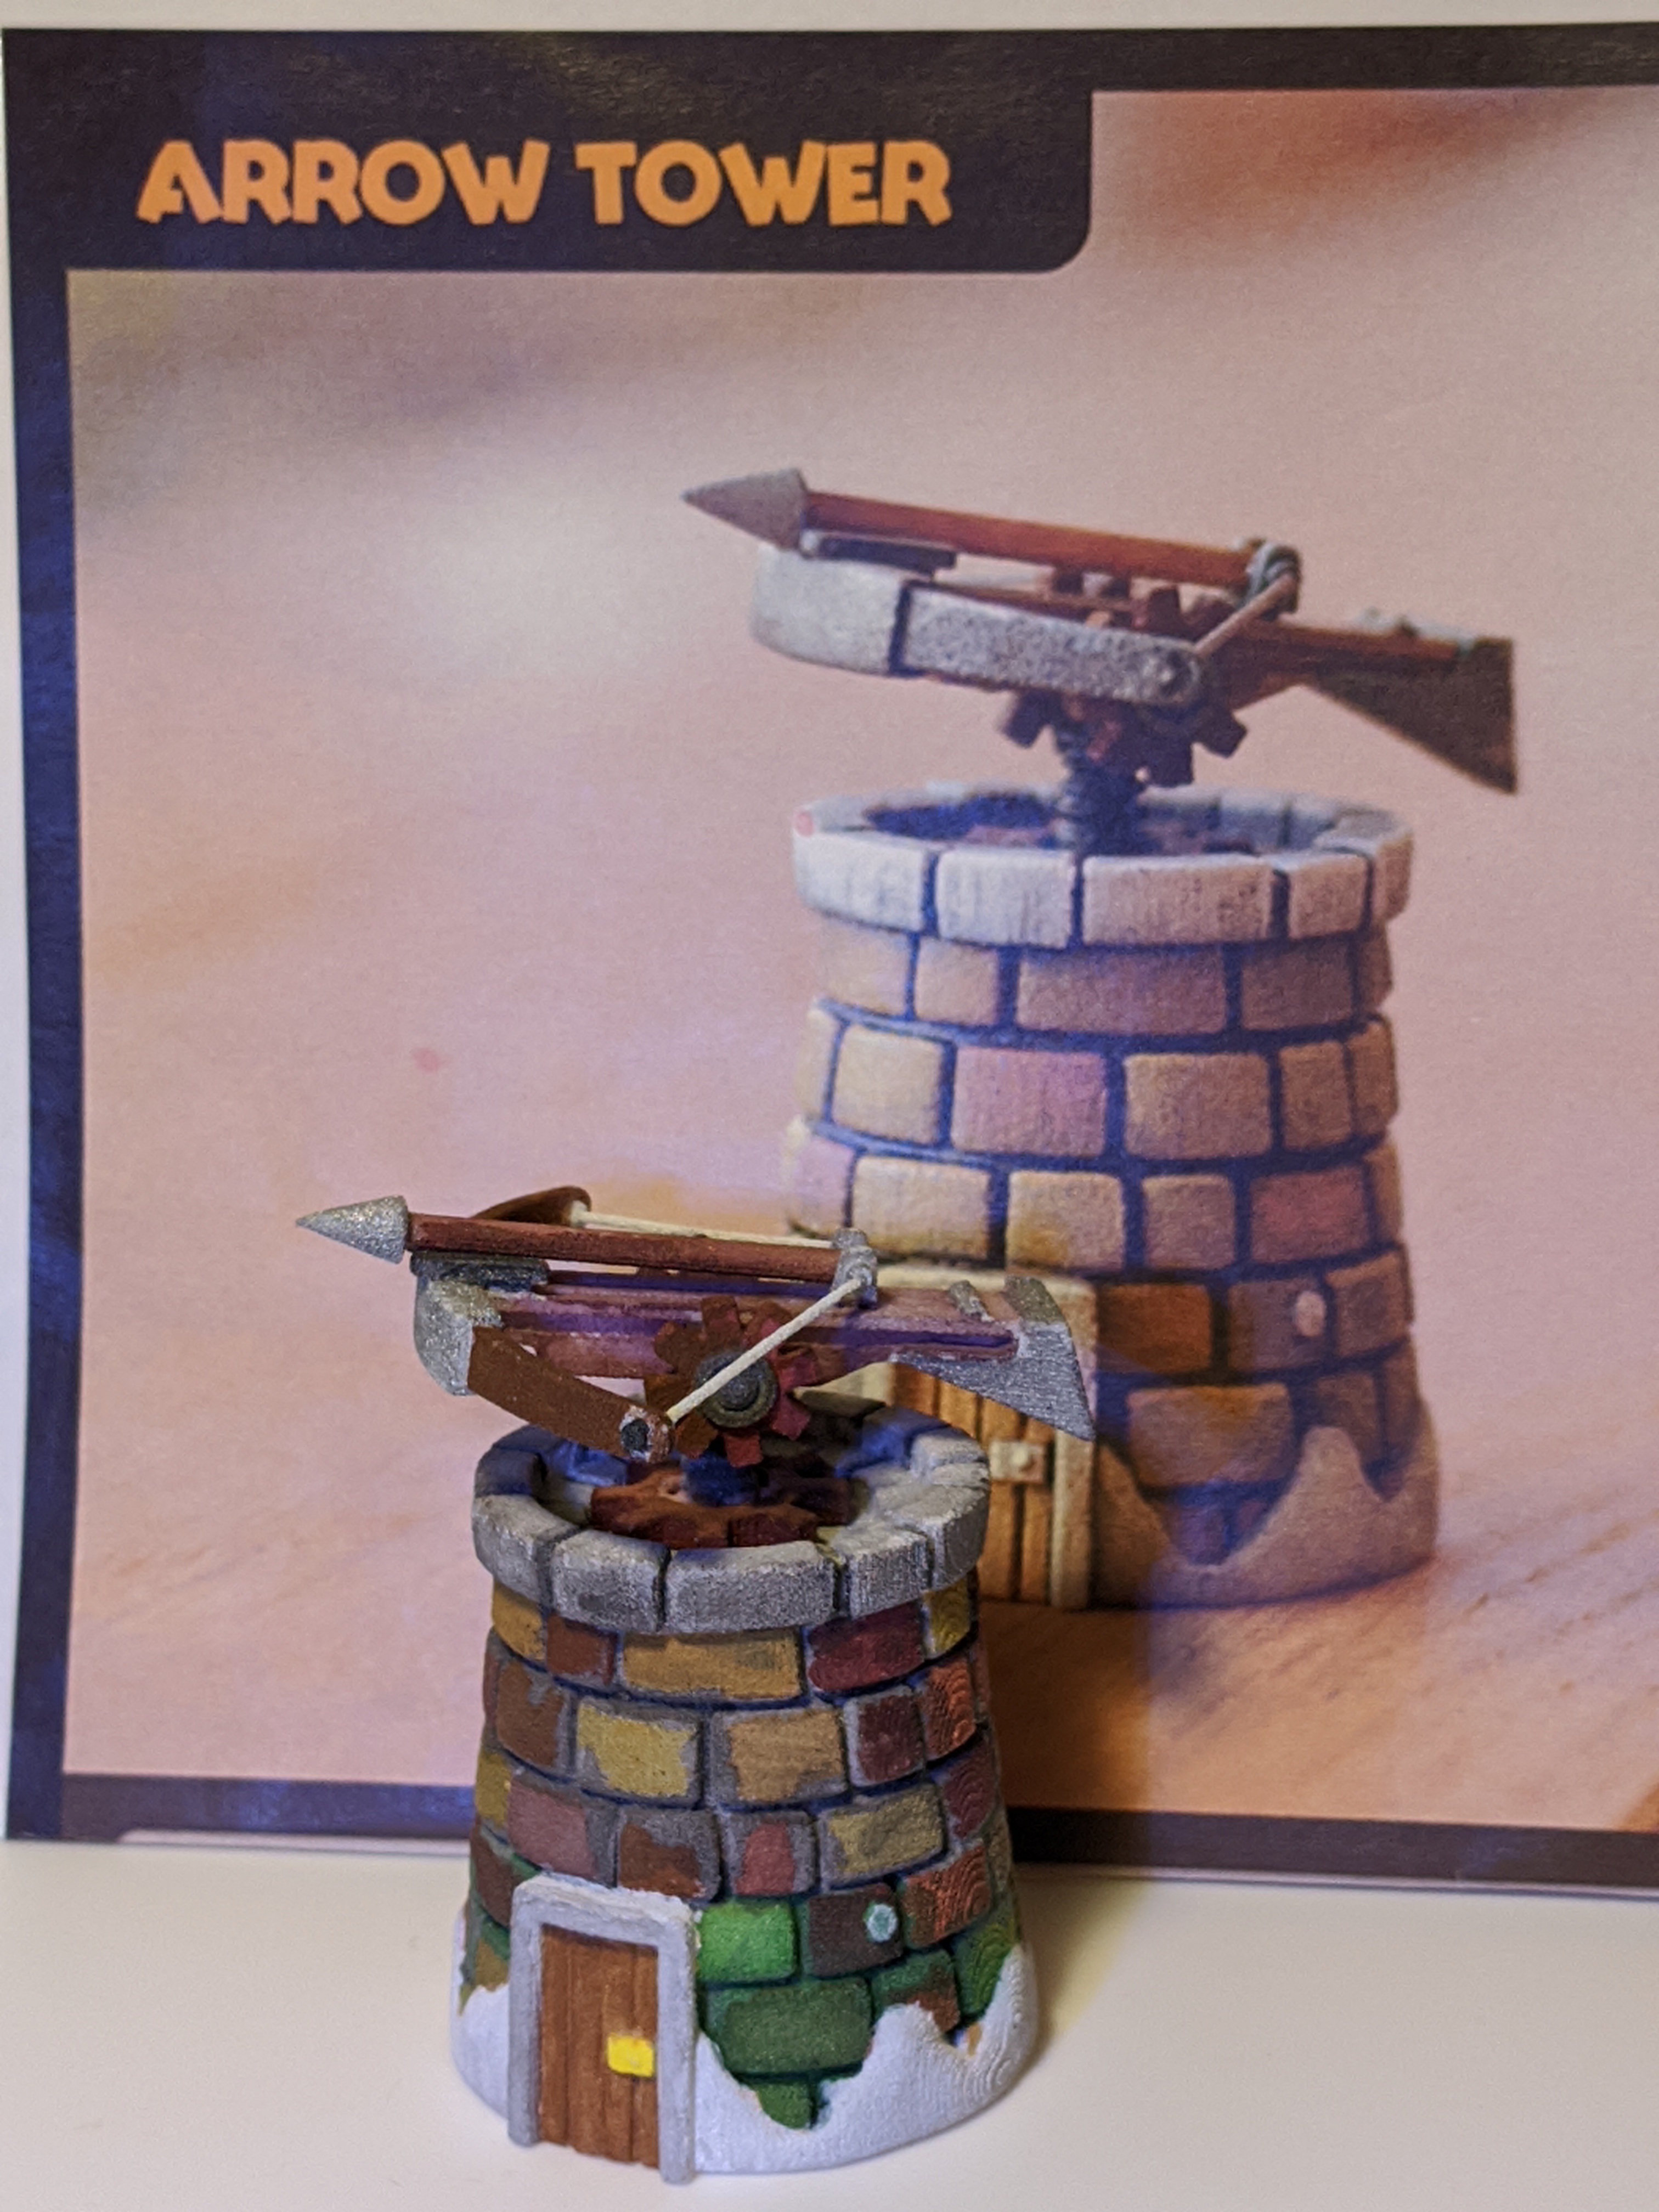
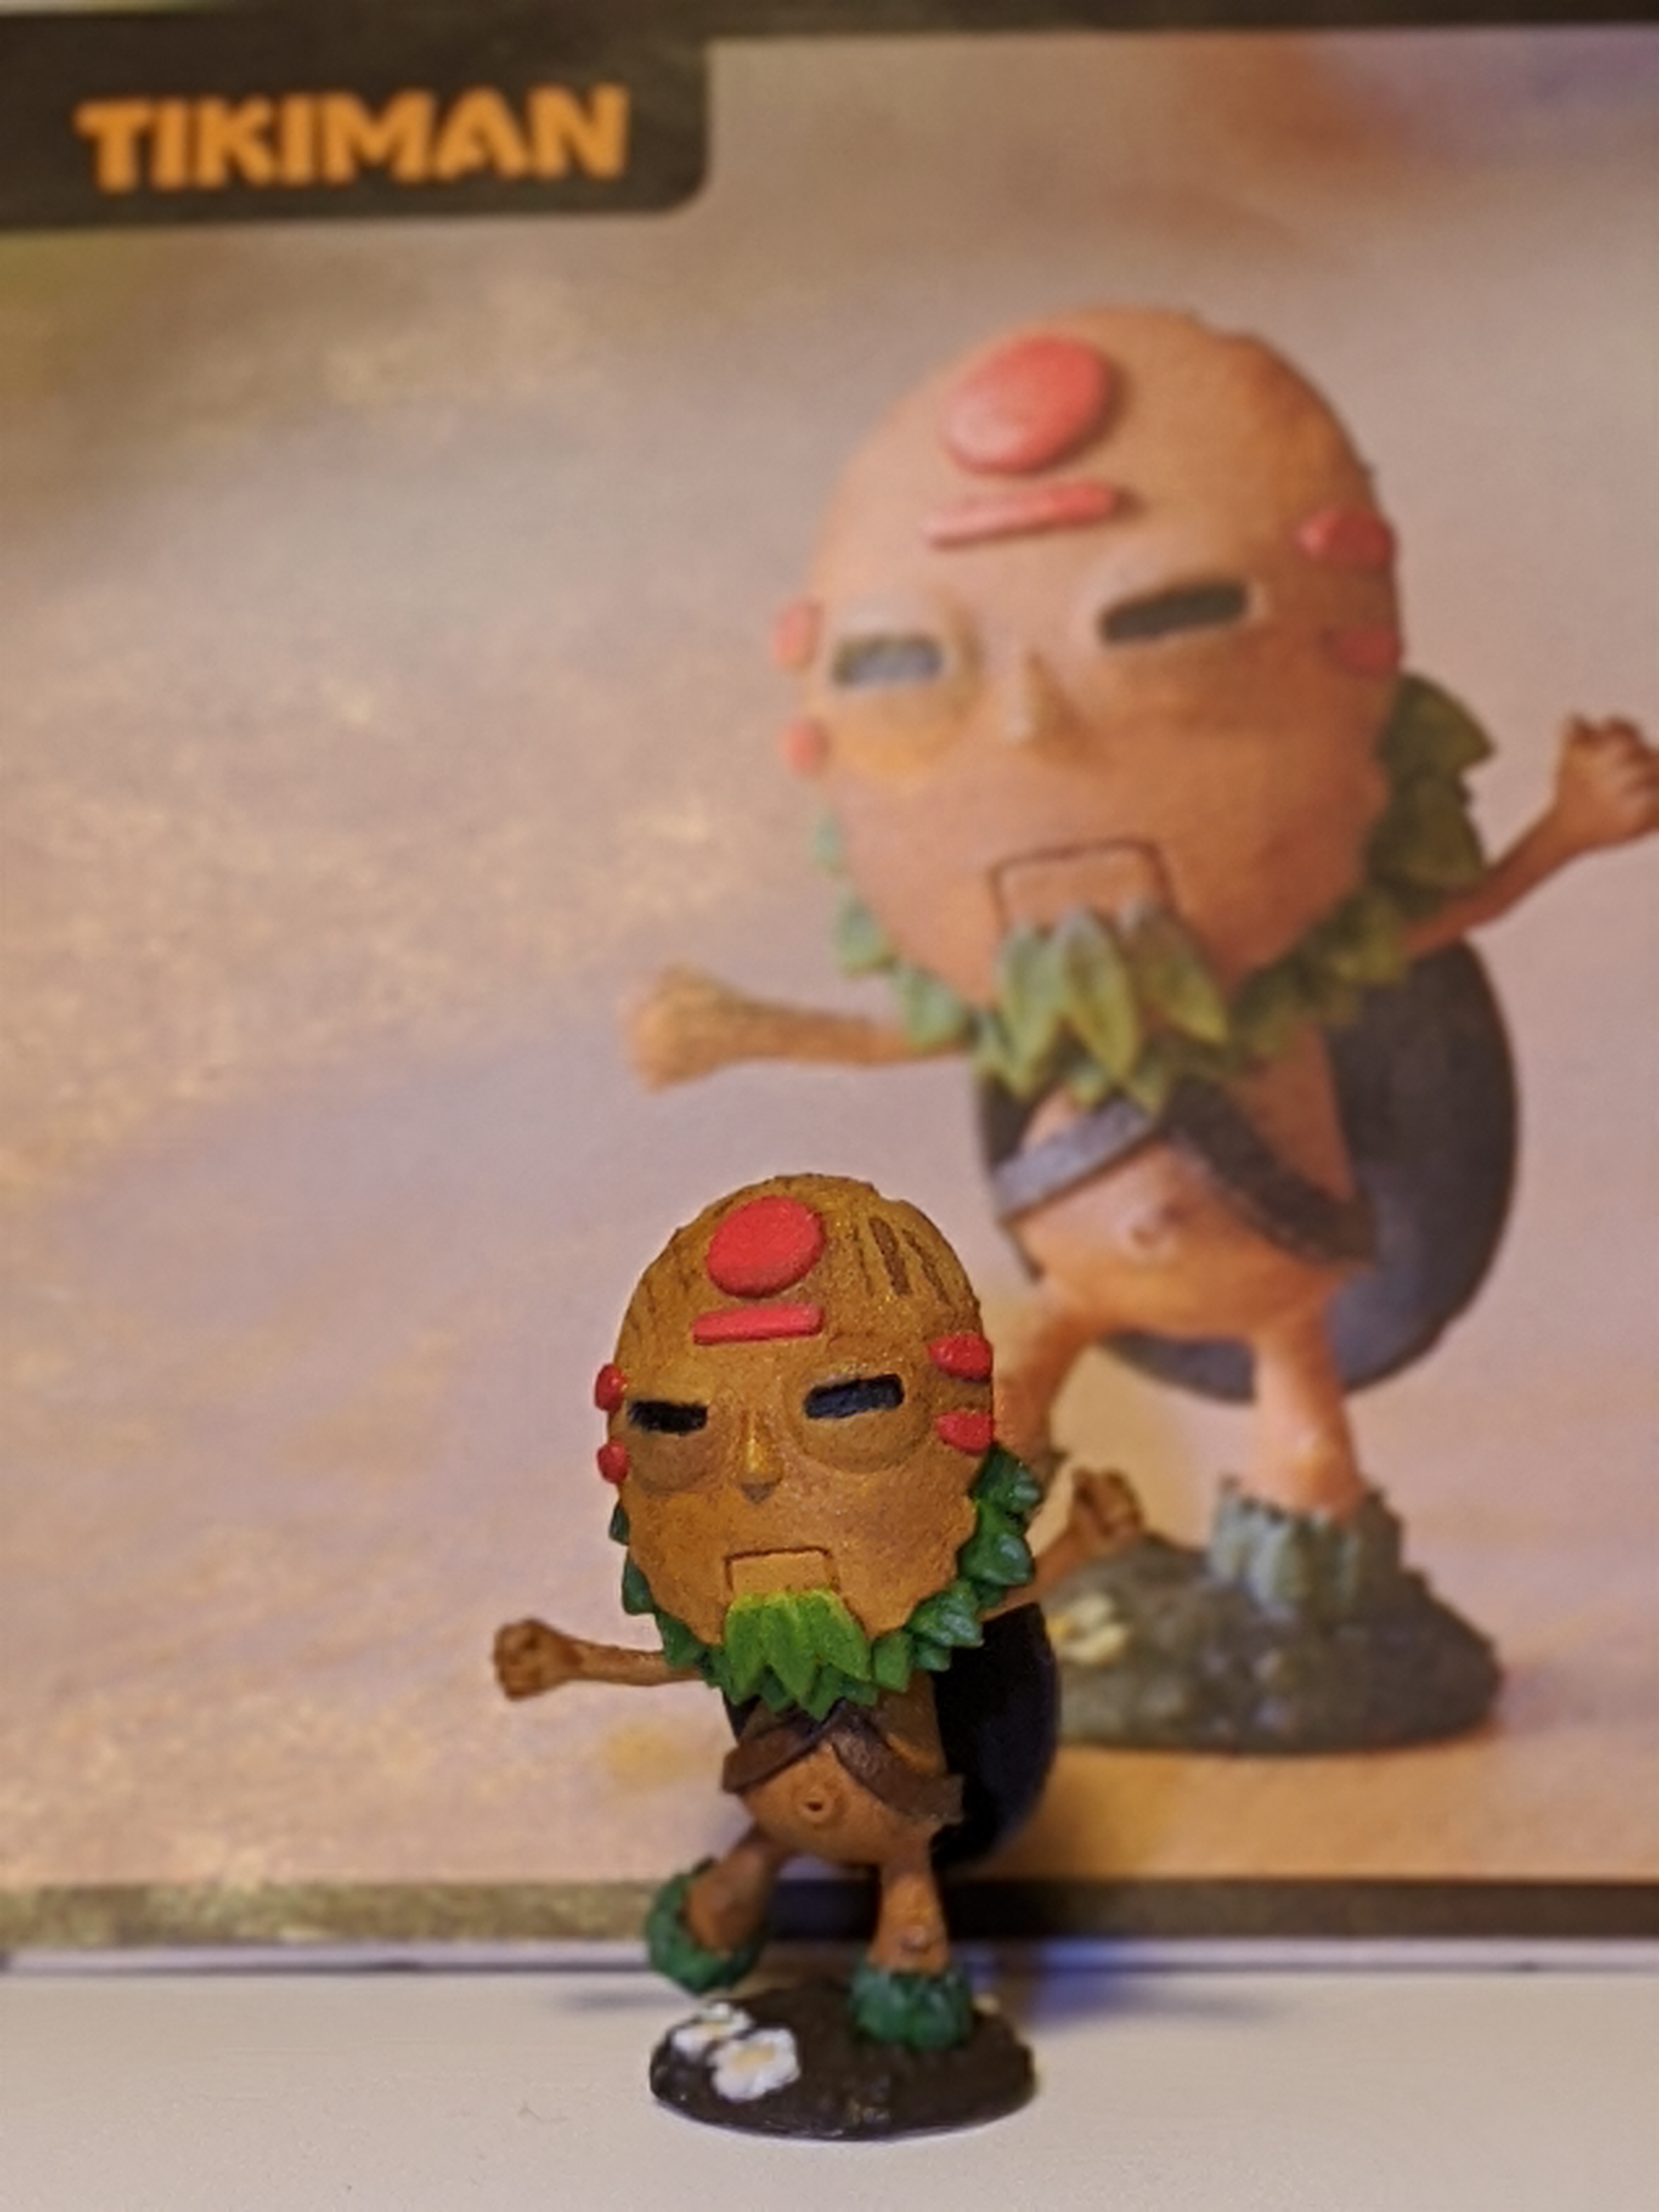
Before I started painting I went back to the Q-Games store and printed out these full page color samples:


The larger print-outs were helpful when understanding the mix of colors on the miniatures. One image I wished I had was the back of each miniature. Especially with Tikiman deciding hair color and shield color.
To learn a little about miniature painting, I used this free kindle book How to Improve Your Hobby Skills: Build, Paint, and Showcase Better Miniatures
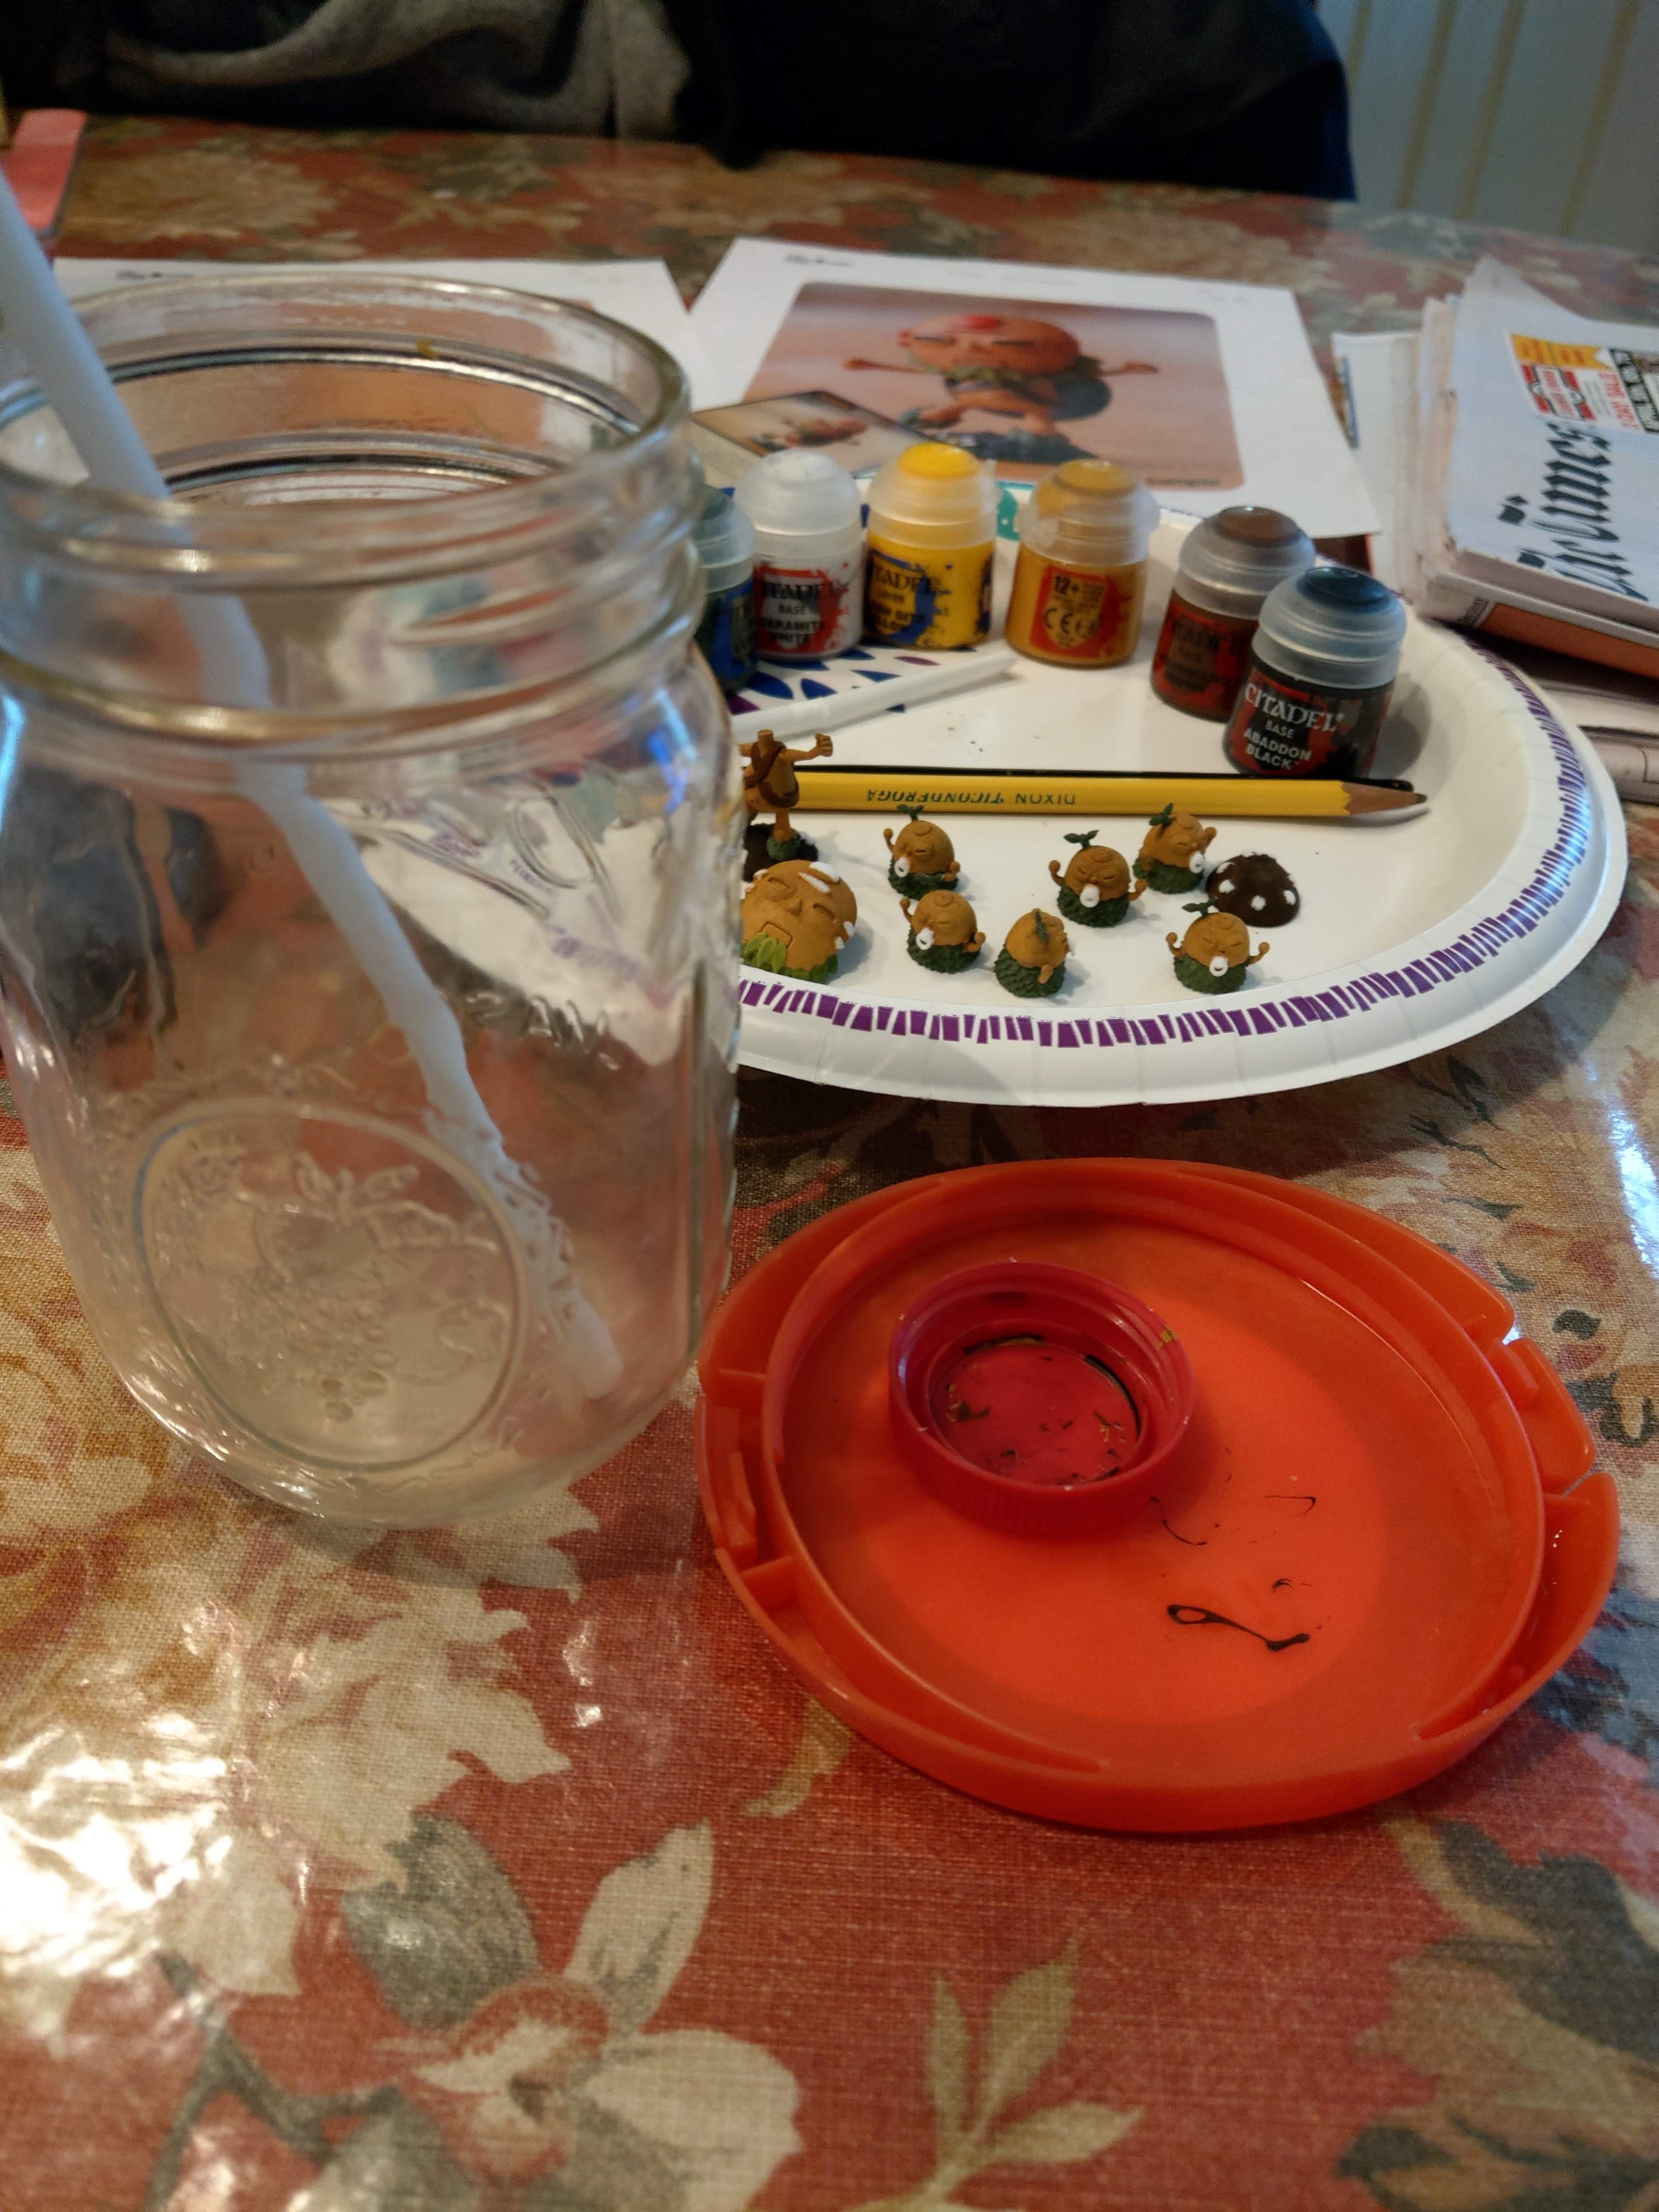
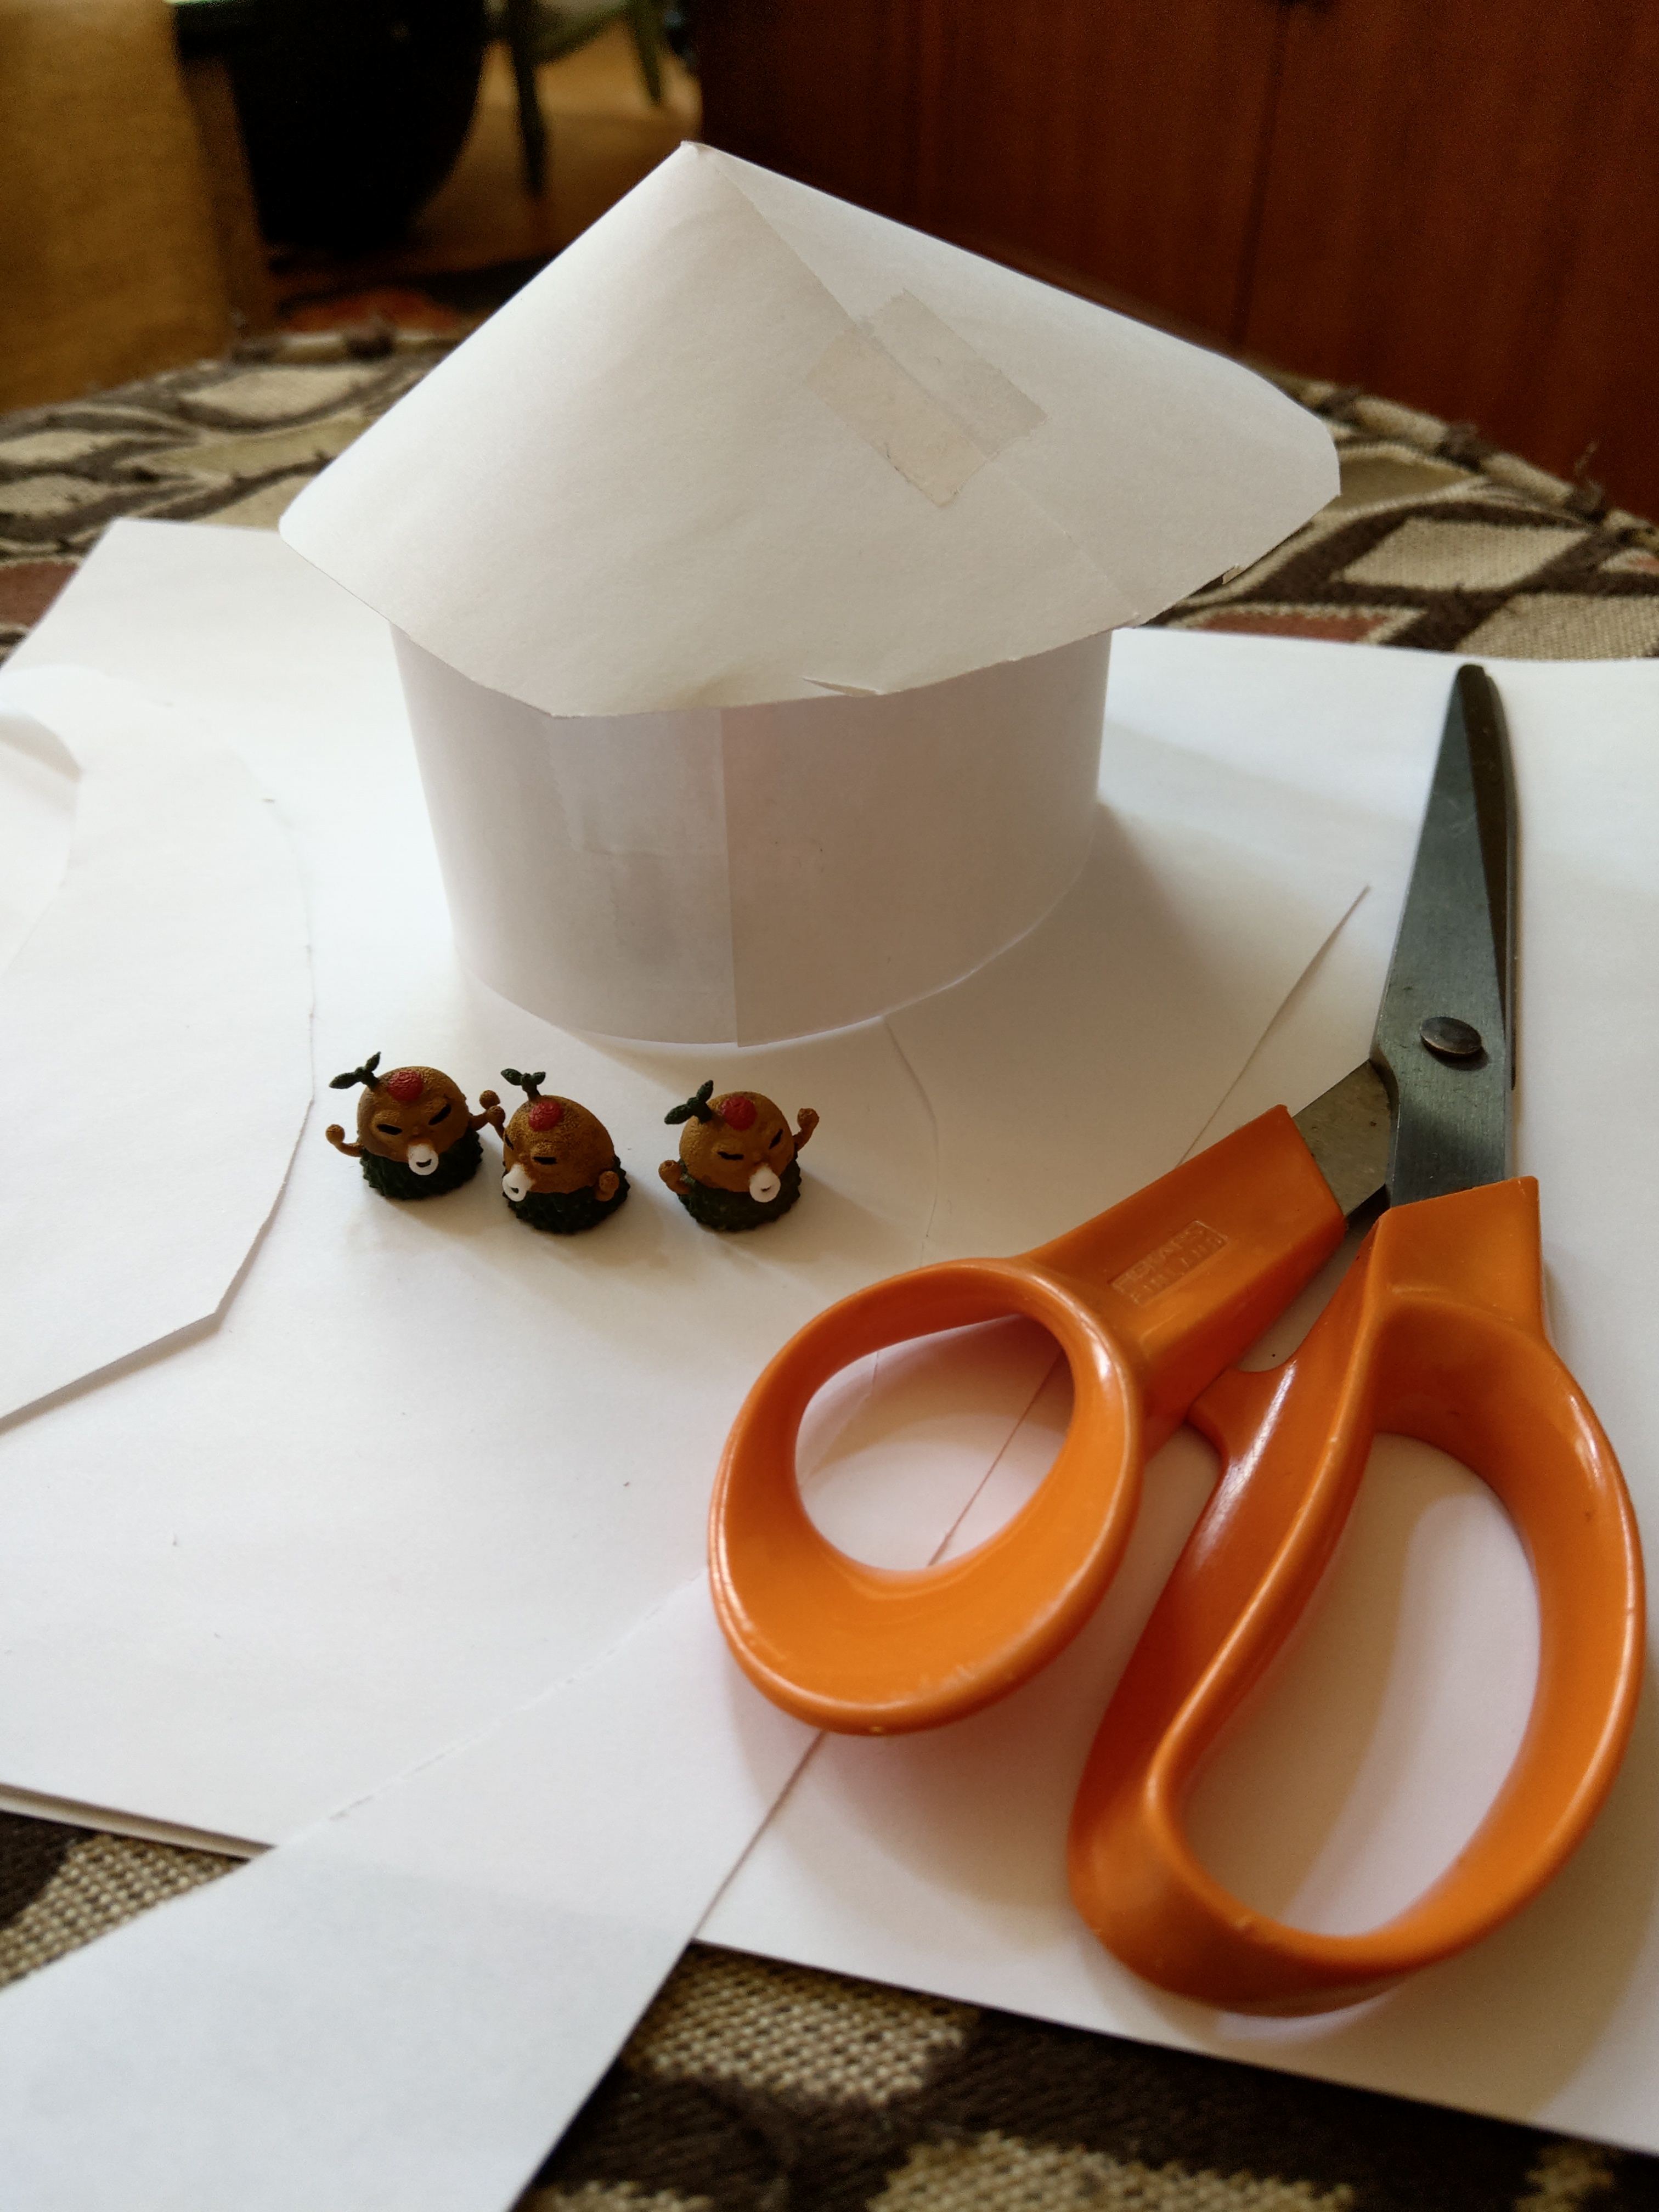
A couple of items that I found useful. A jar with water with a straw for dispensing. A bottle cap to use for mixing and watering down the paint. Additional straws to draw paint out of containers and drop into the bottle cap for mixing. I didn’t want to dip my paint brush back into the paint and mix other colors in by mistake. Use a paper towel to always ‘unload’ your brush so it has less paint before you touch the miniature. I’ve found that starting with the larger areas of color first and then progressing to the smaller areas later is working best for me. I do have to go back to the larger areas and re-paint where my brush with another color overran.
Current progress:


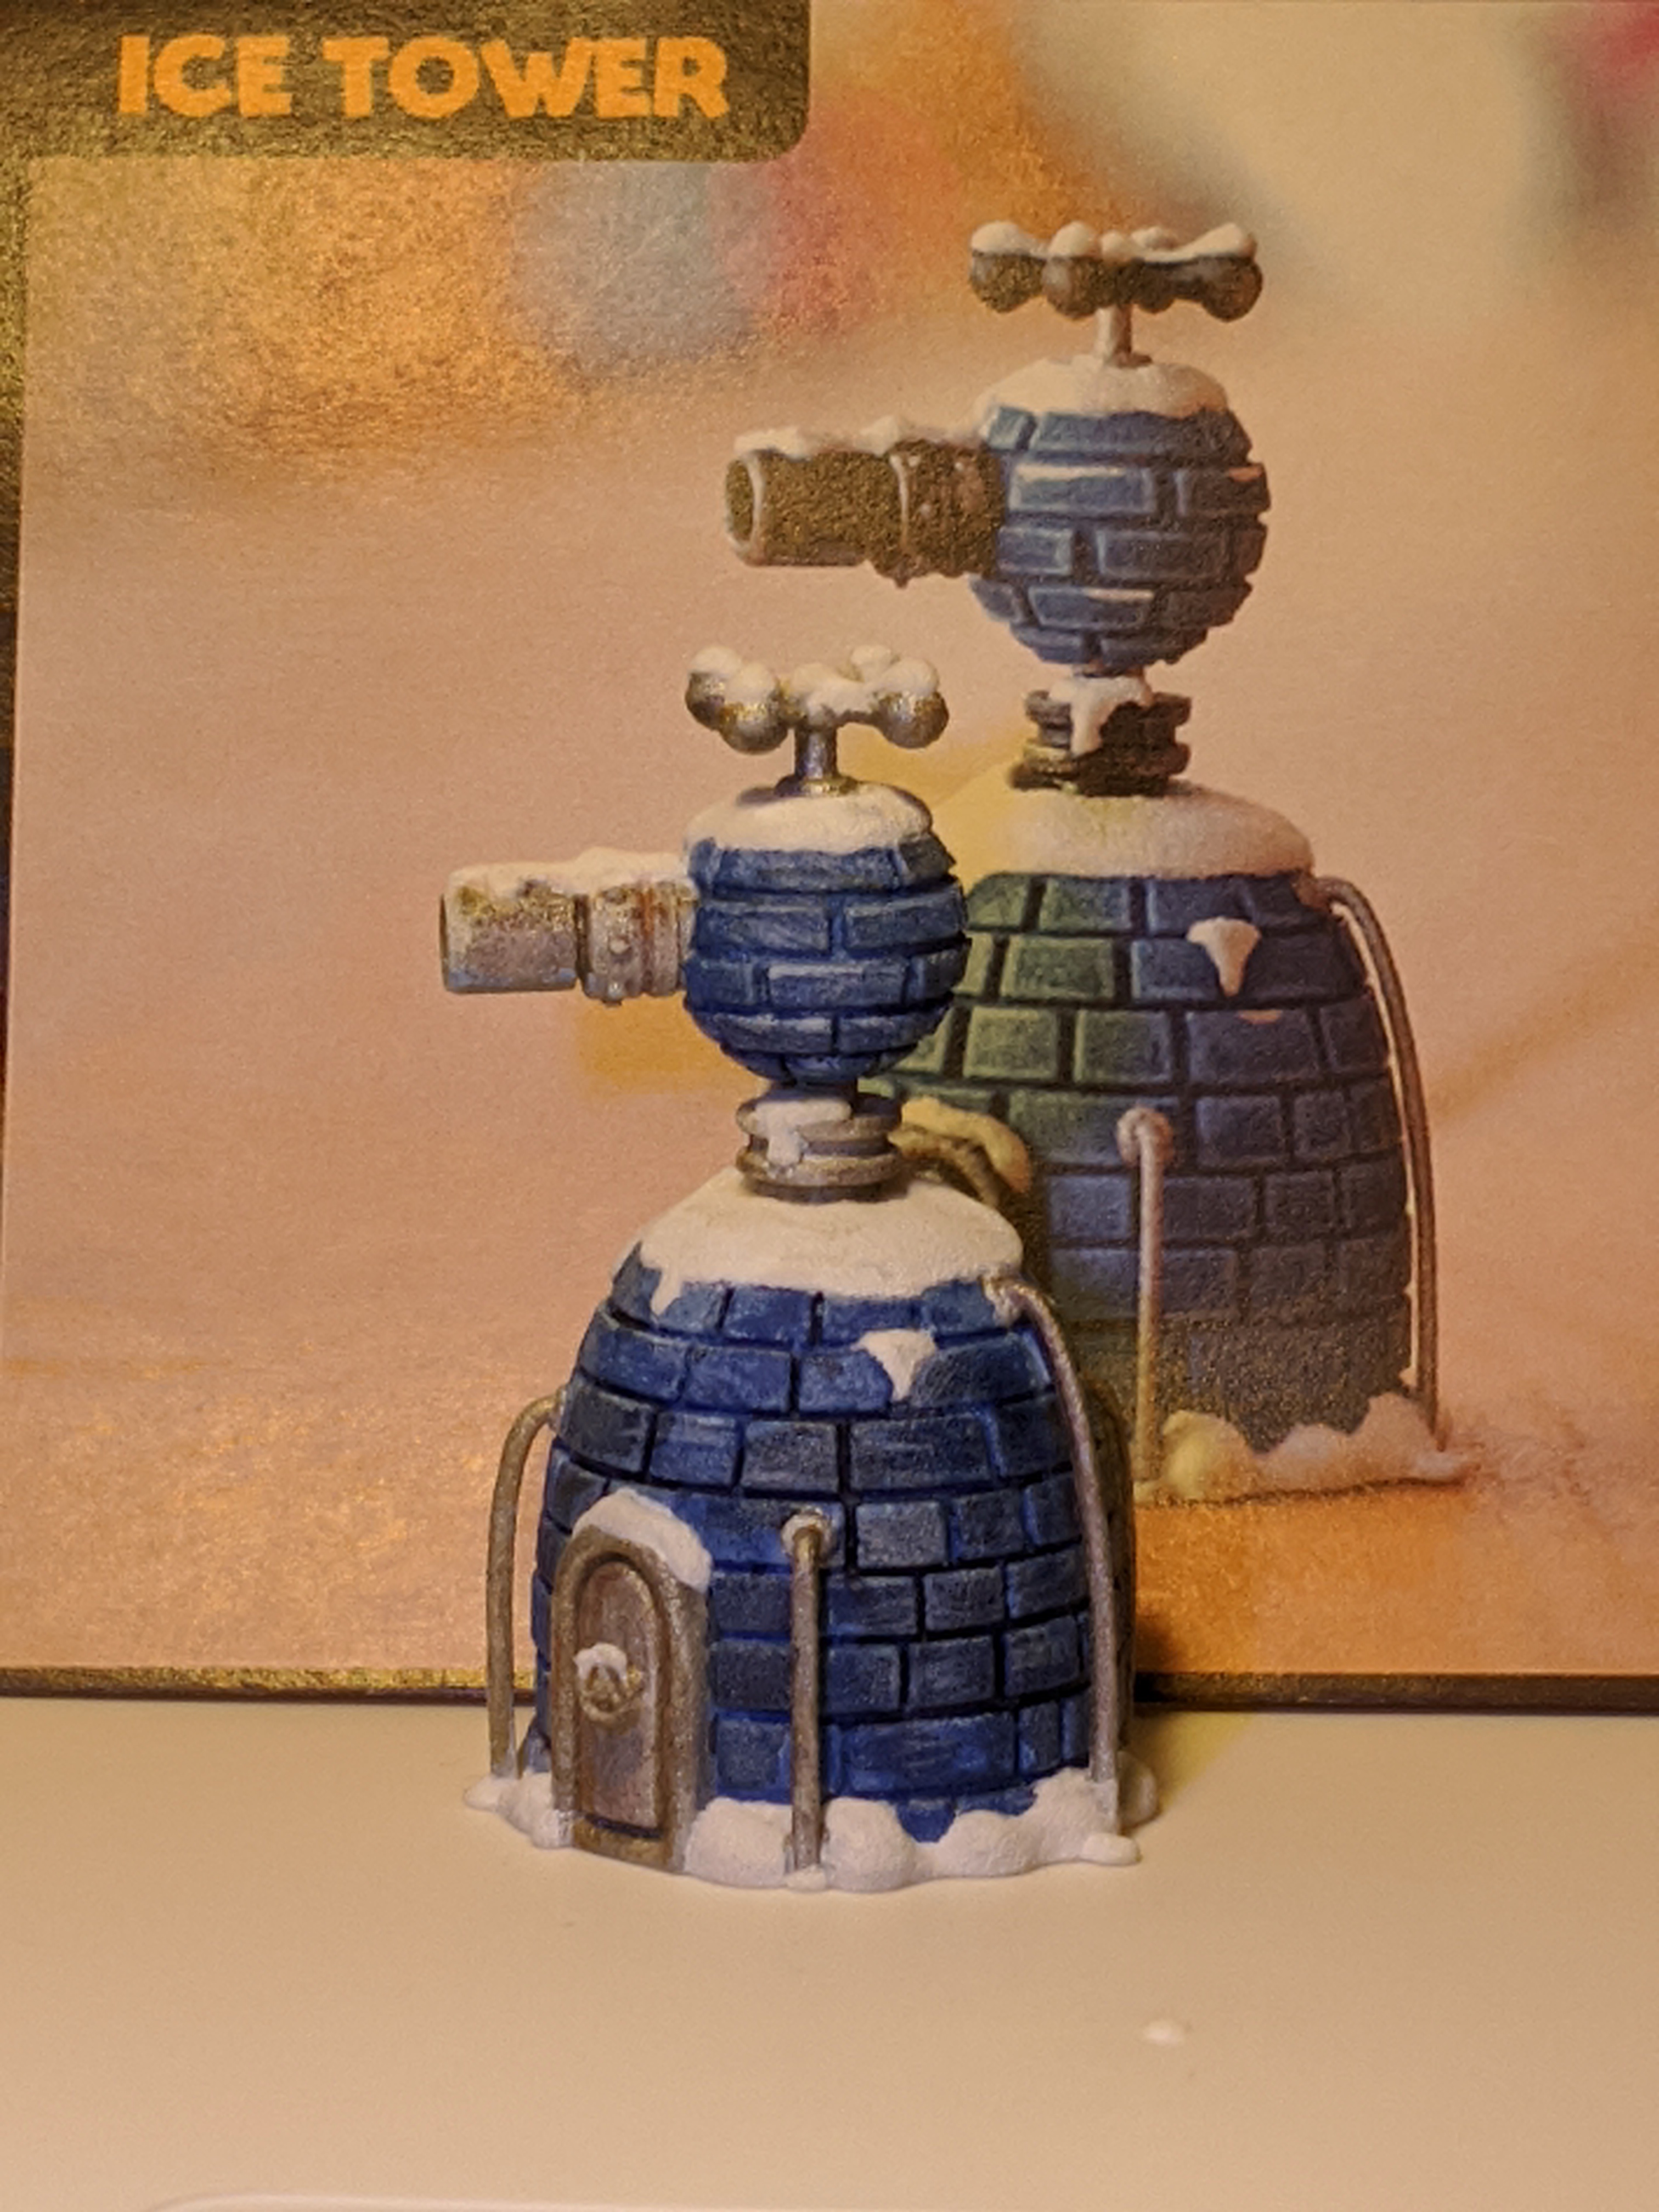
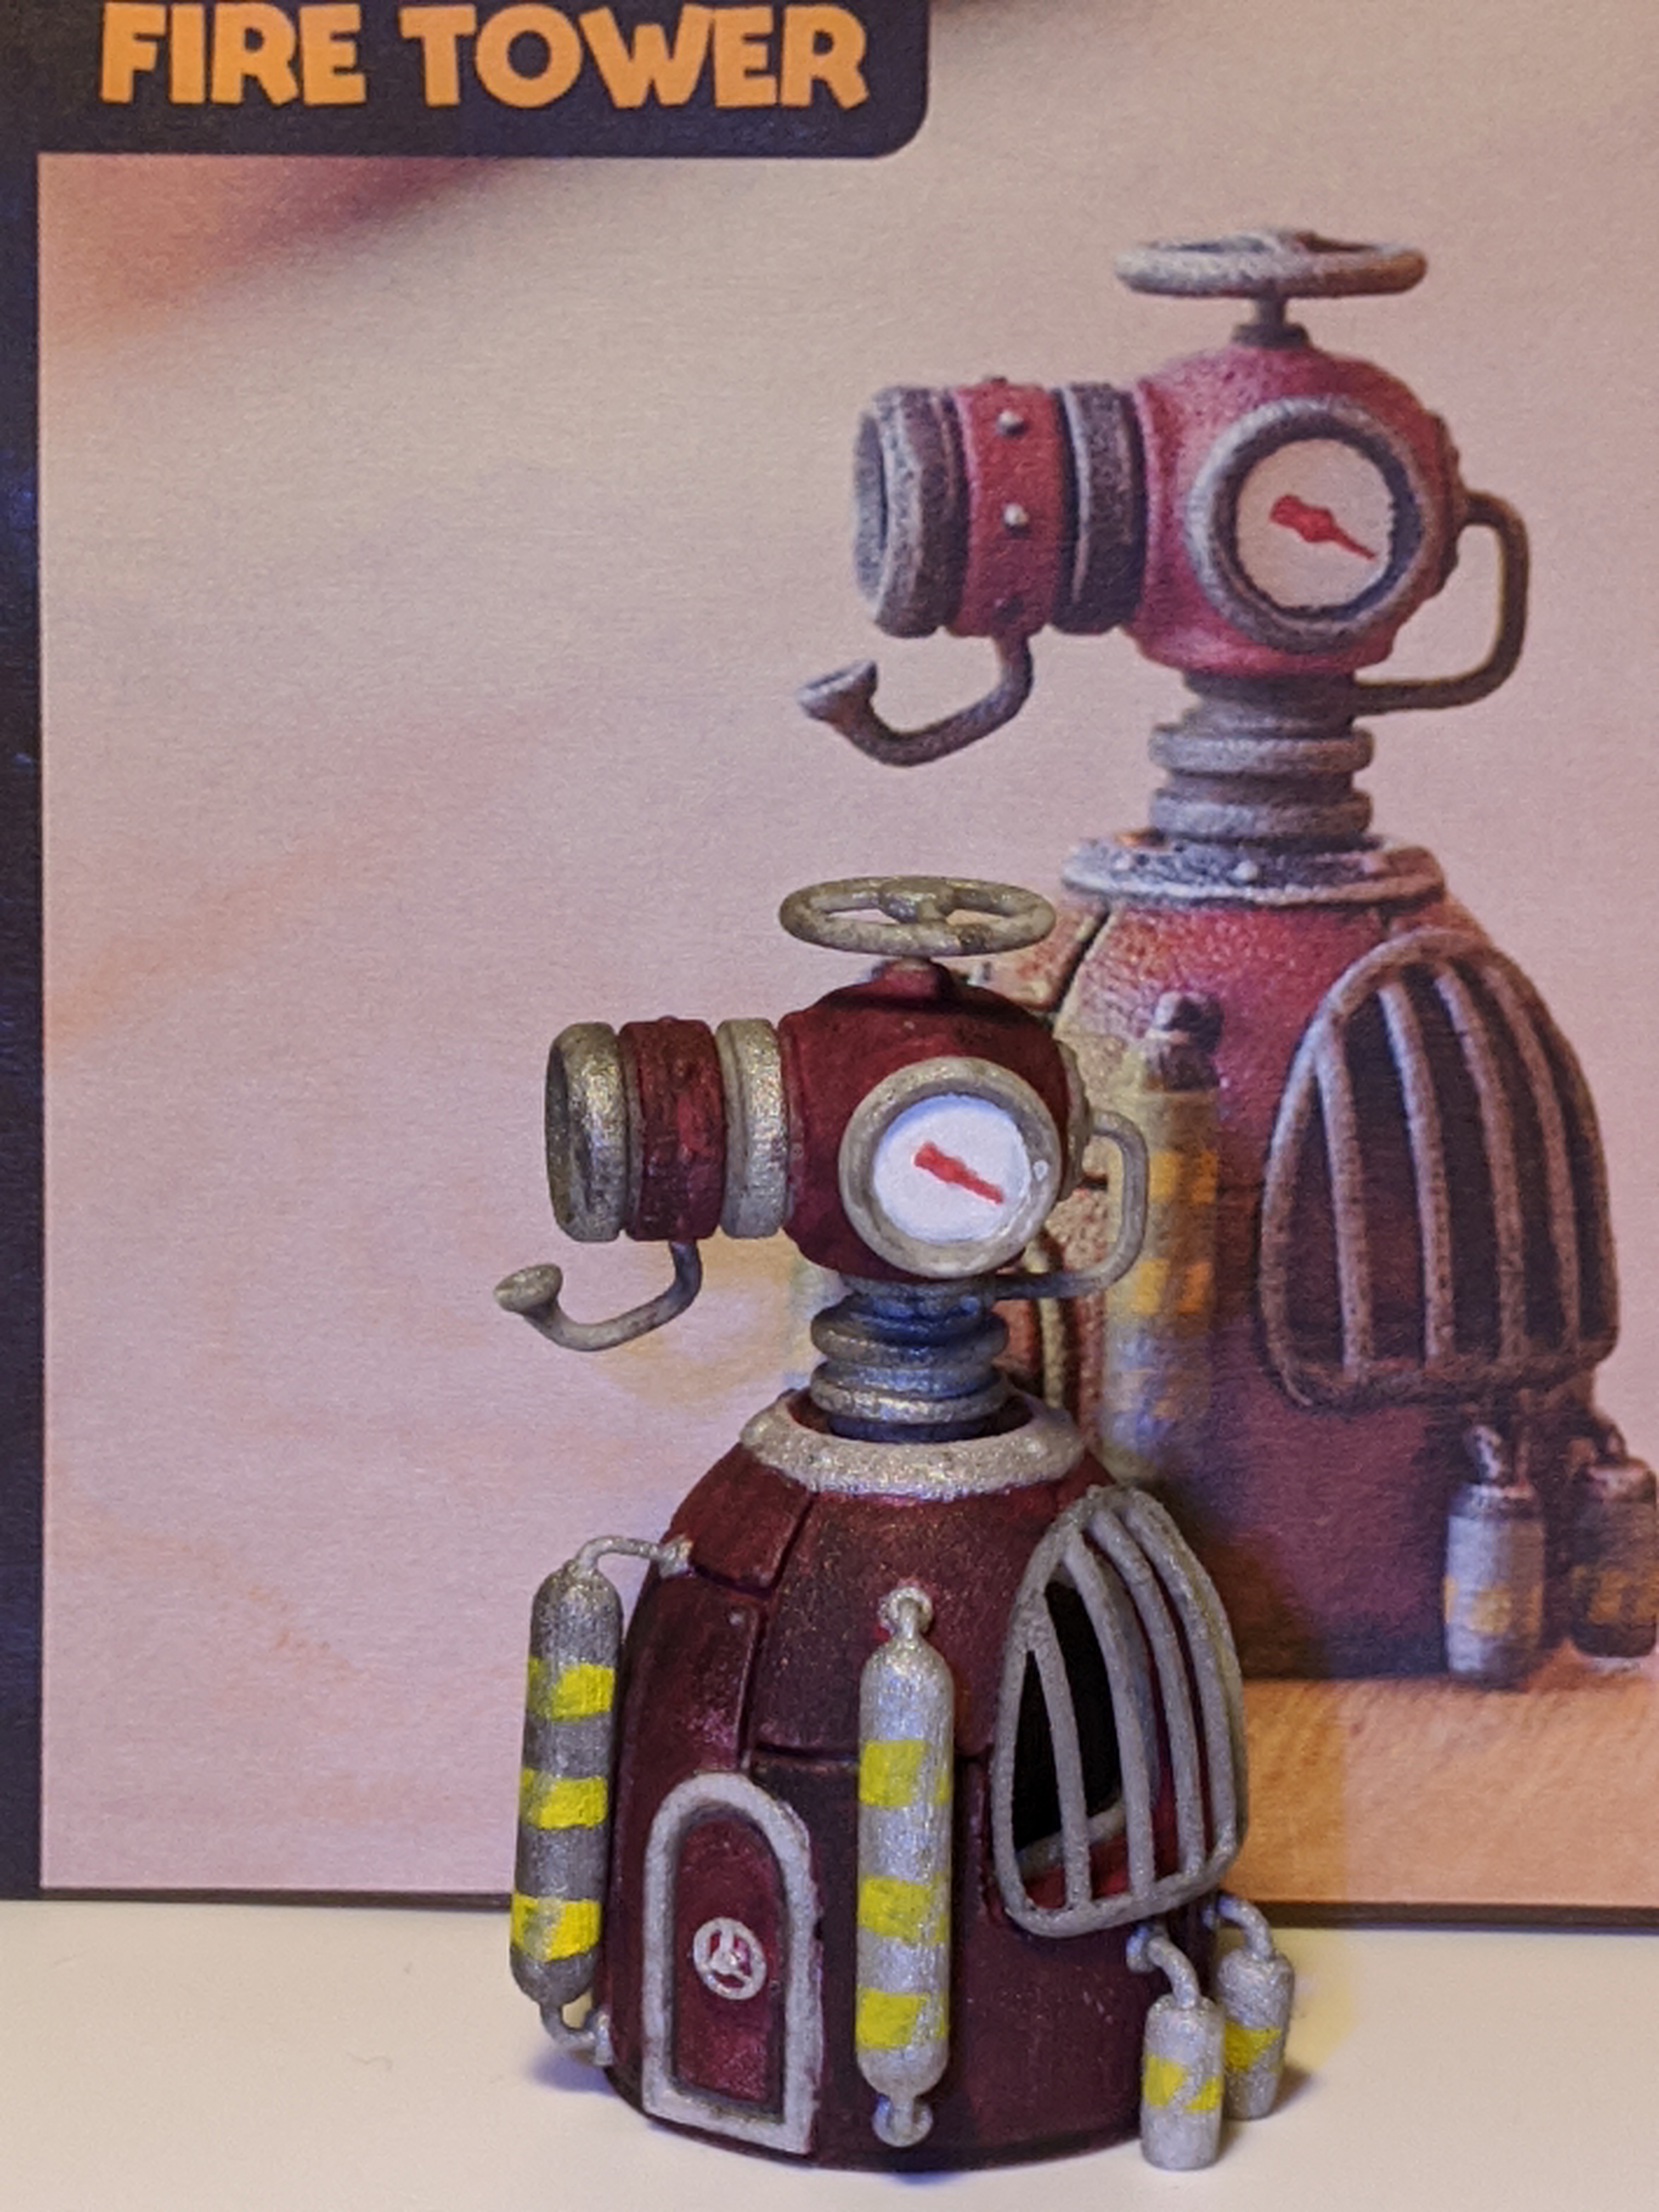
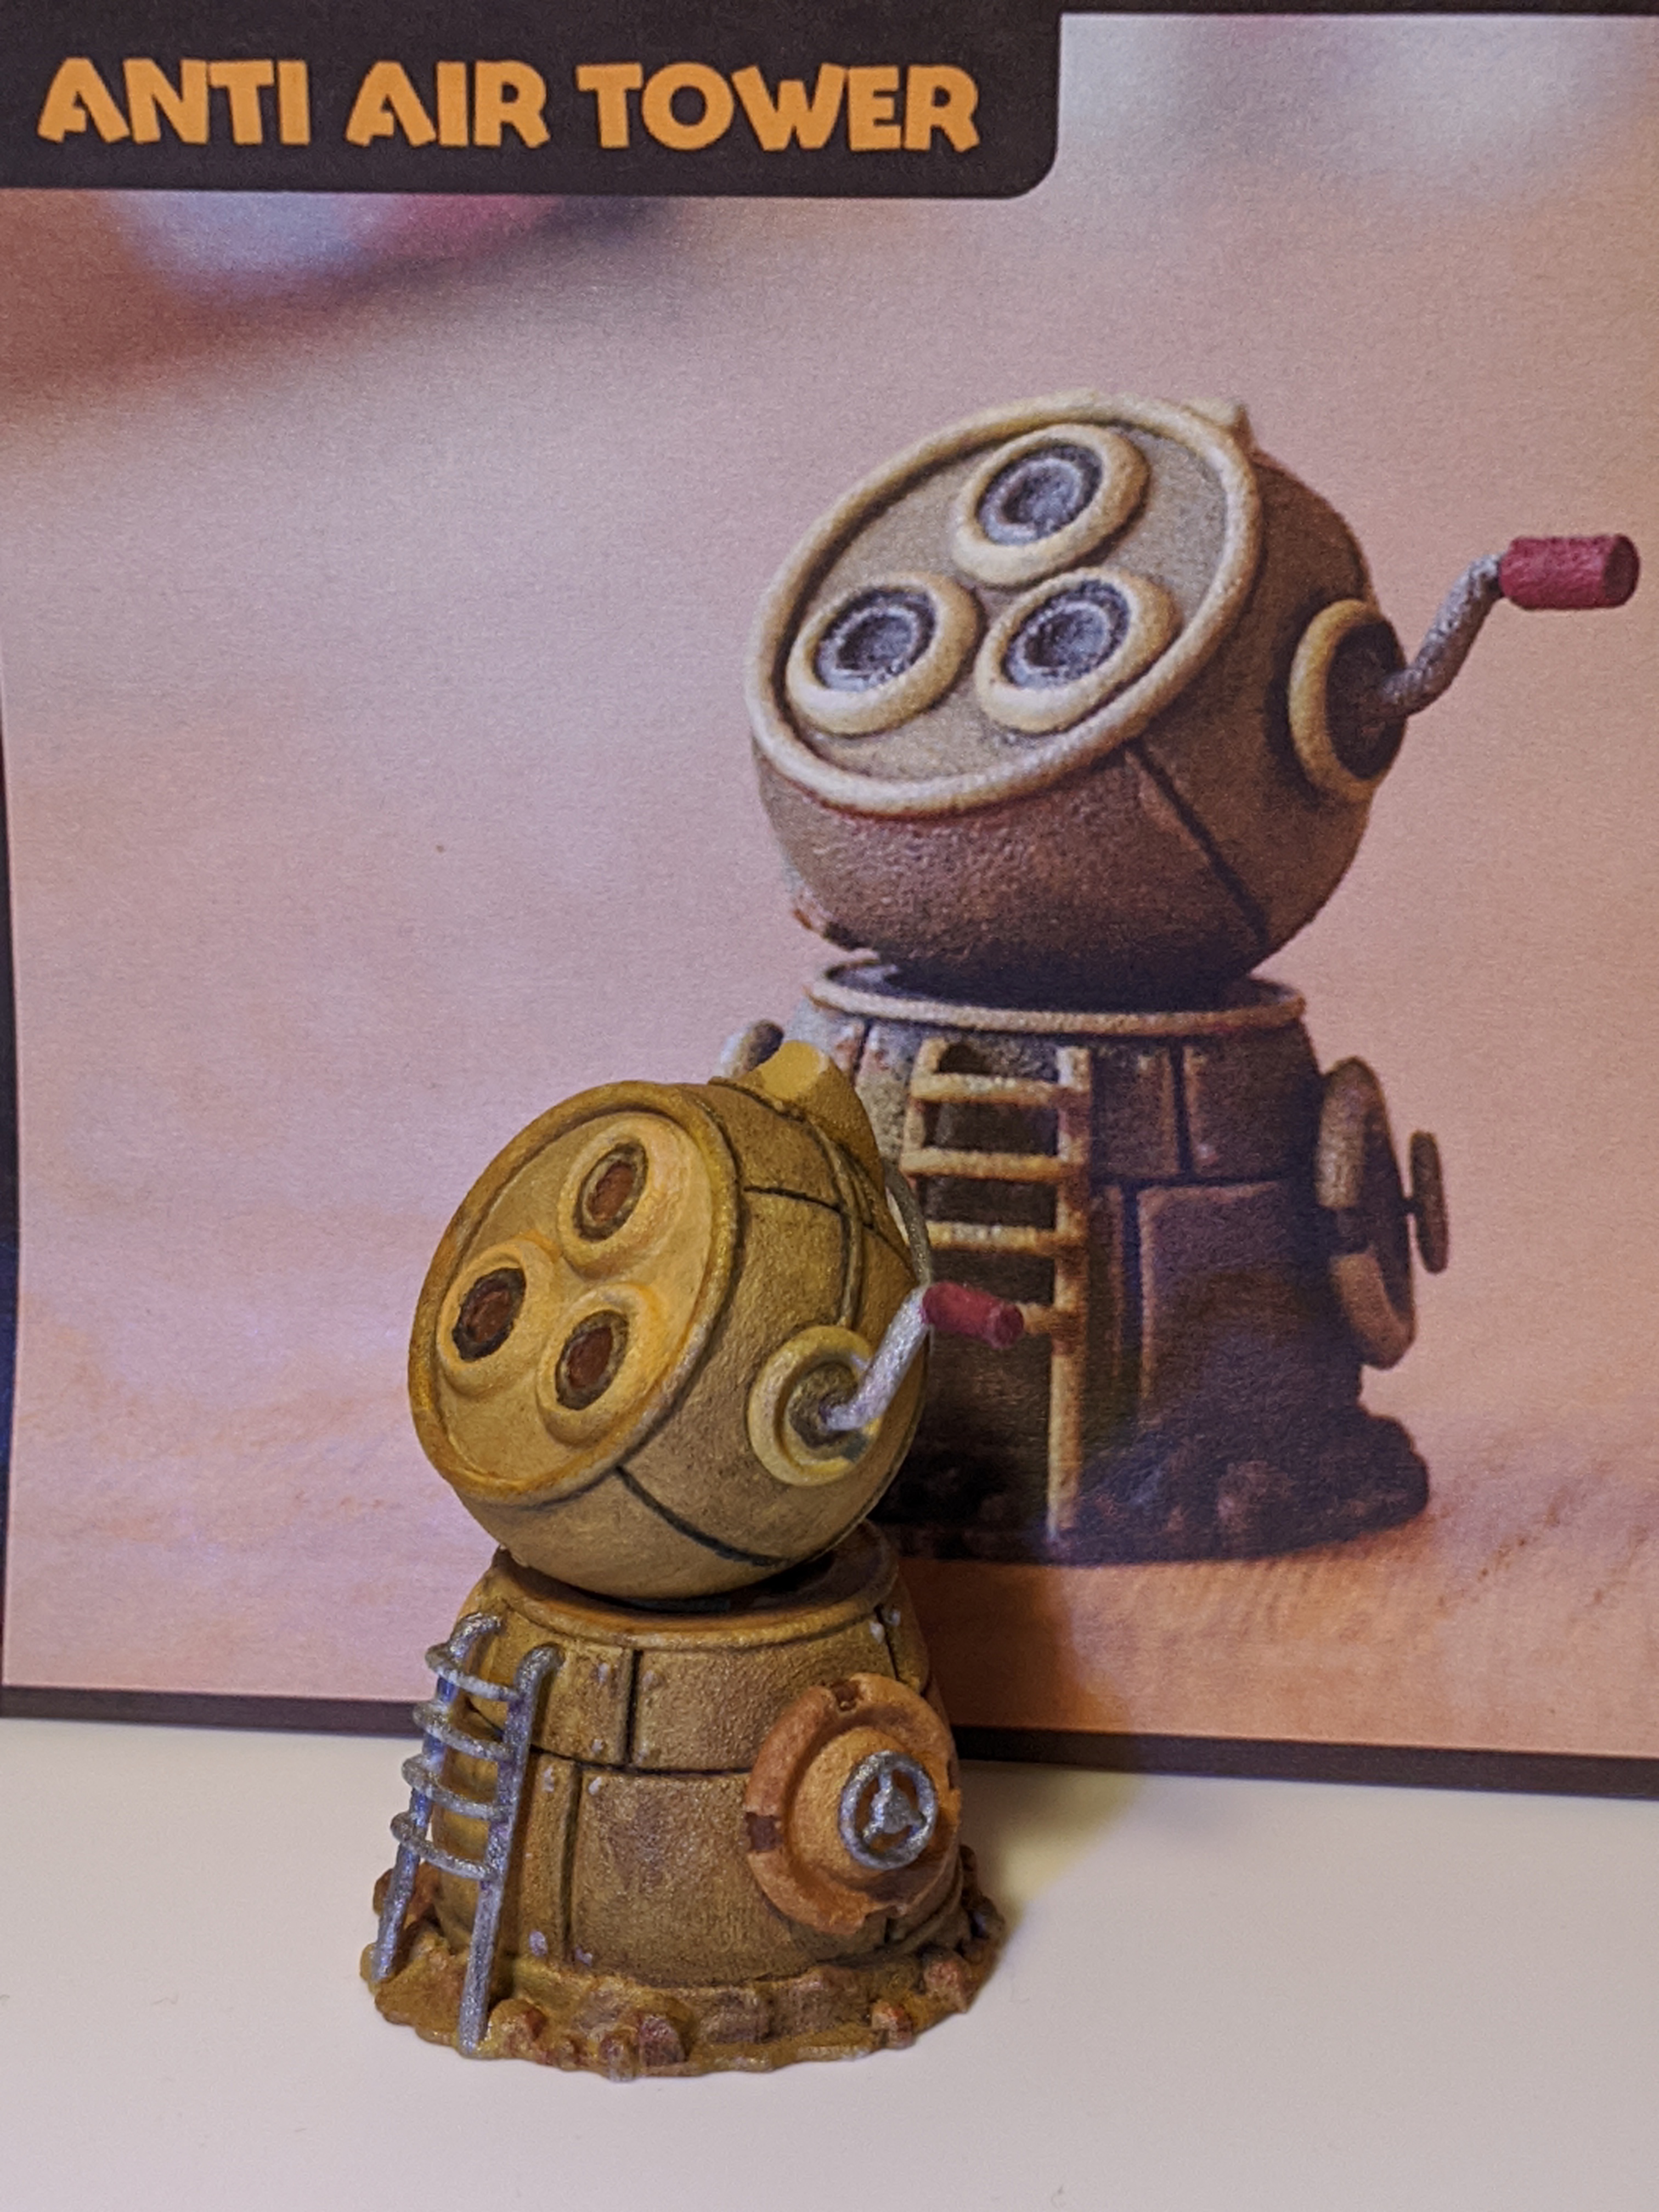
I’ll likely buy more PixelJunk miniatures now that I think I have the hang of painting. I have my eye on the 3 piece classic tower set for $100. When I first saw the prices I was a little surprised at the cost. But then I took a look as some of the WarHammer miniatures where you have sheets of pieces that you have to assemble and I now understand the pricing as being fair for the quality and detail that PixelJunk is delivering.
I need to buy more brushes as I think different size brushes which are recommended may enable me to do a better job with some of the detail work.
I’ll add a final image or two here as I progress:
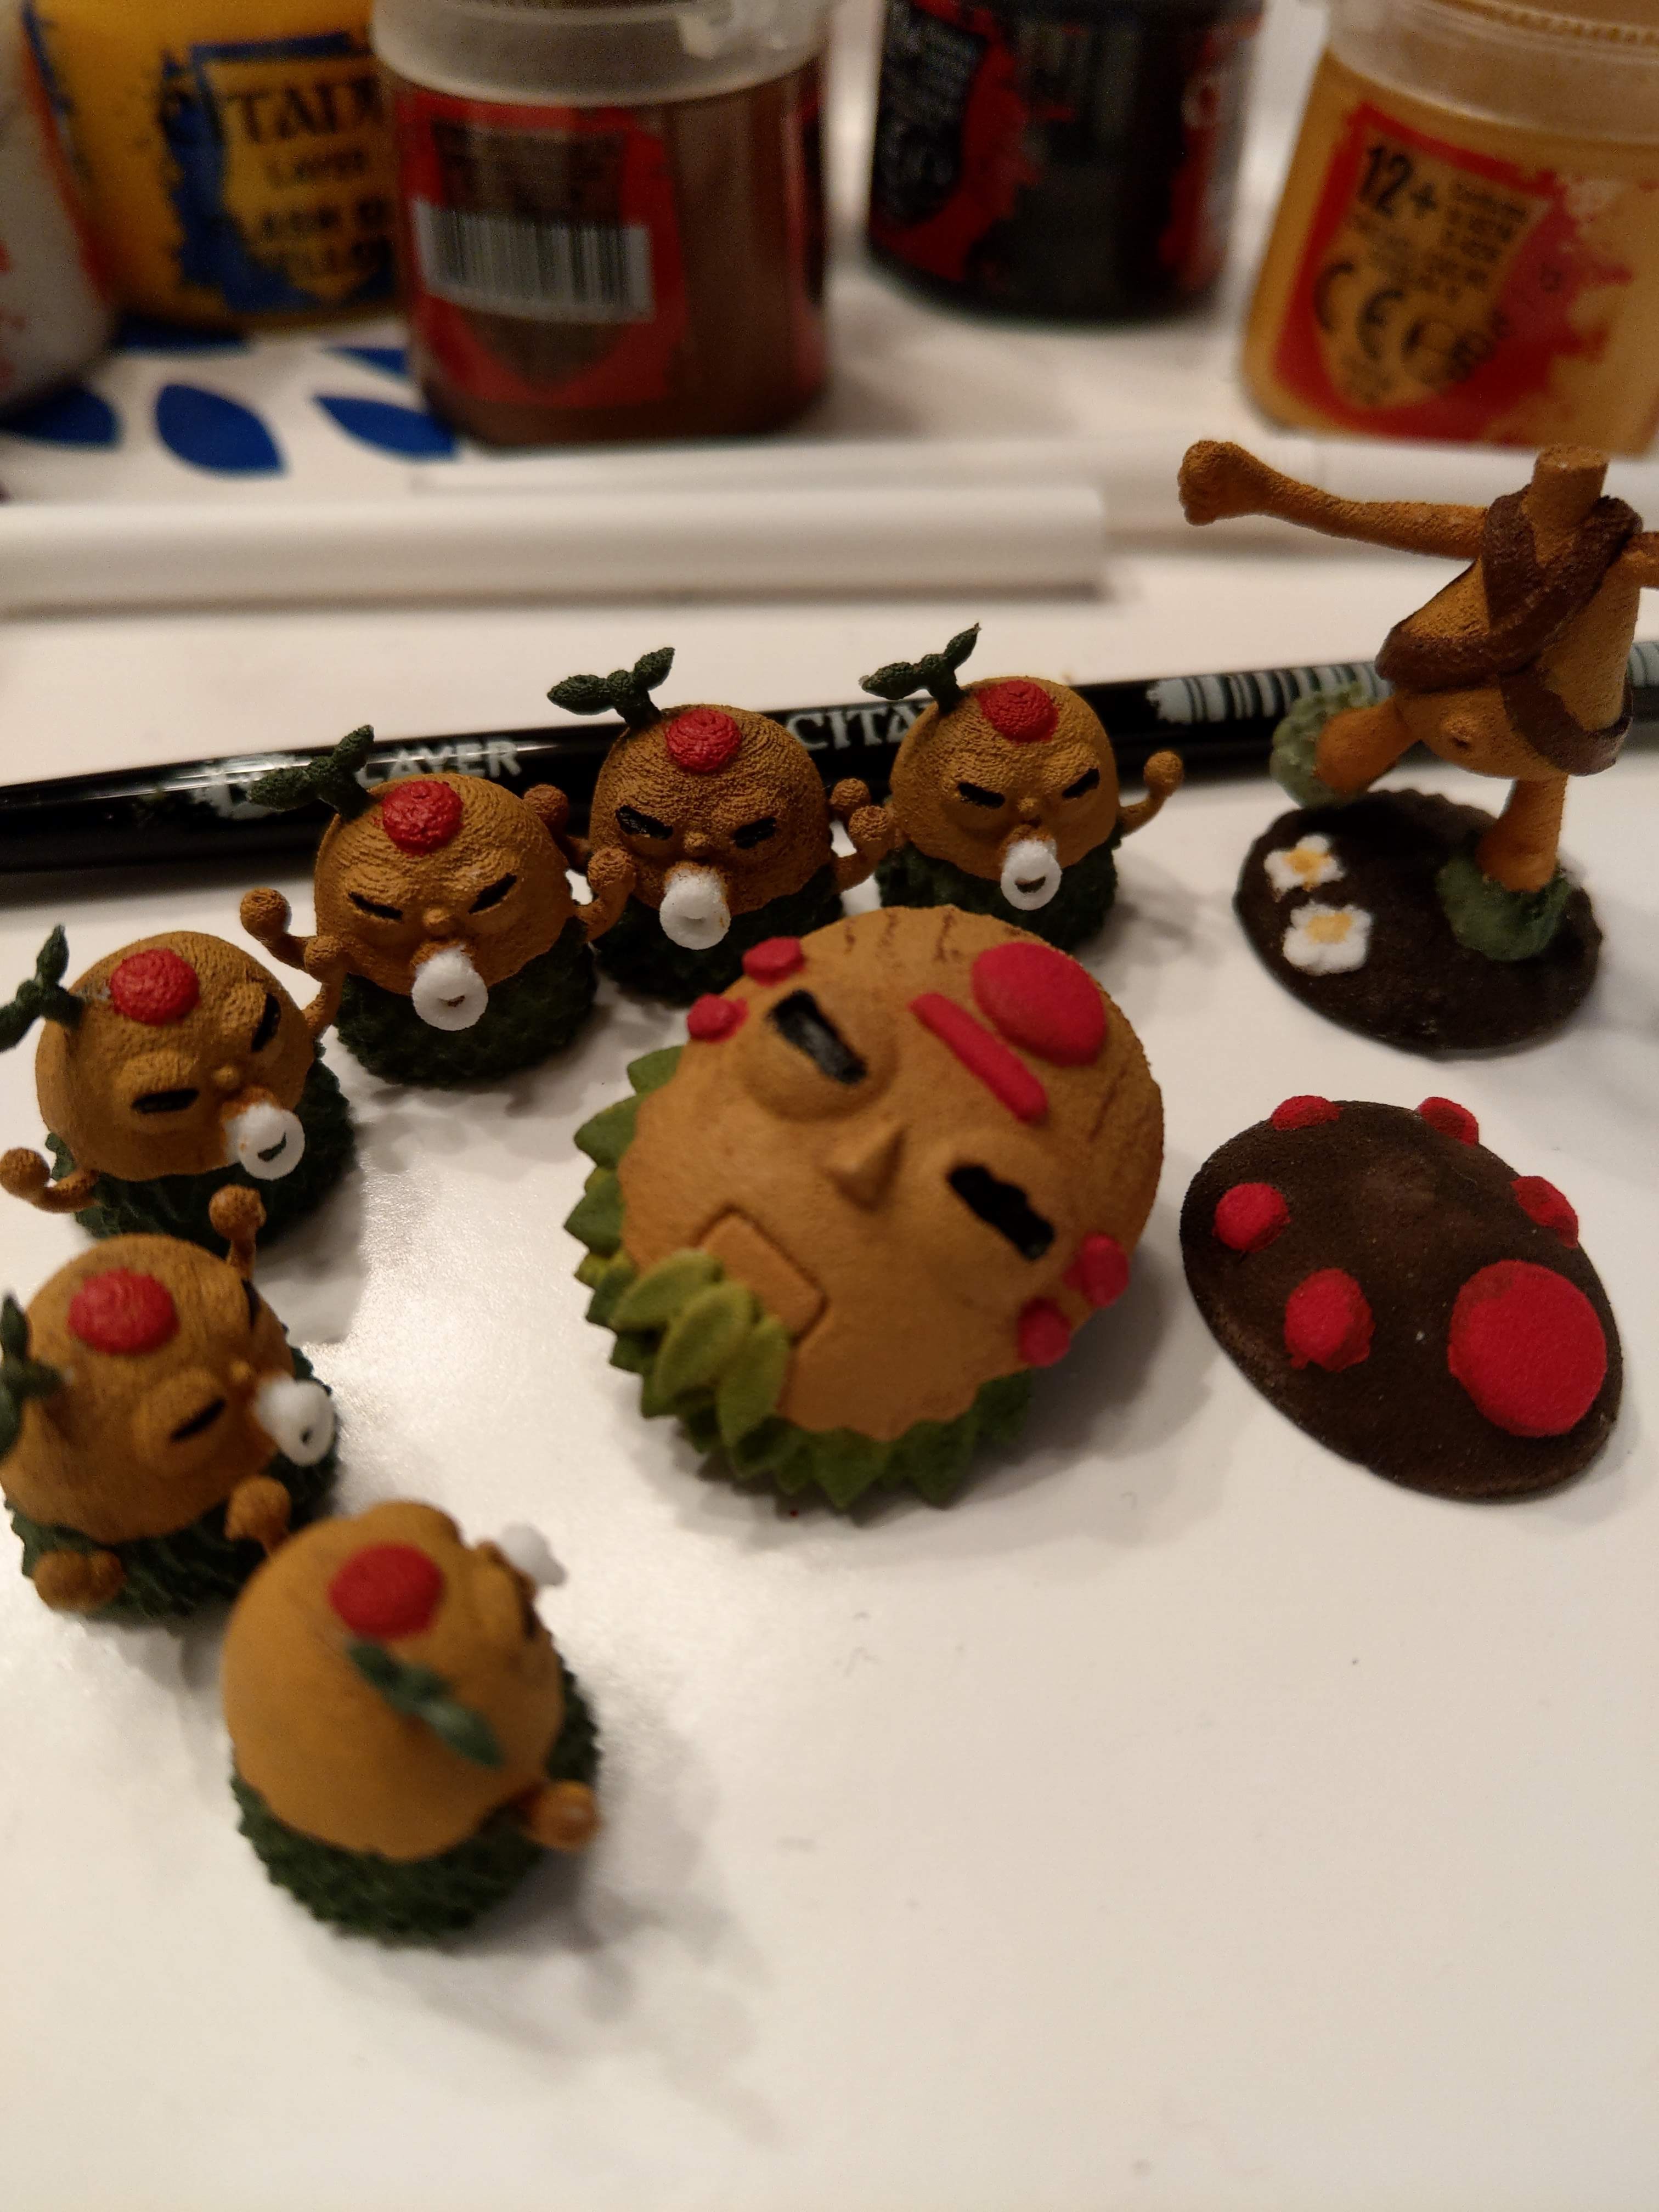
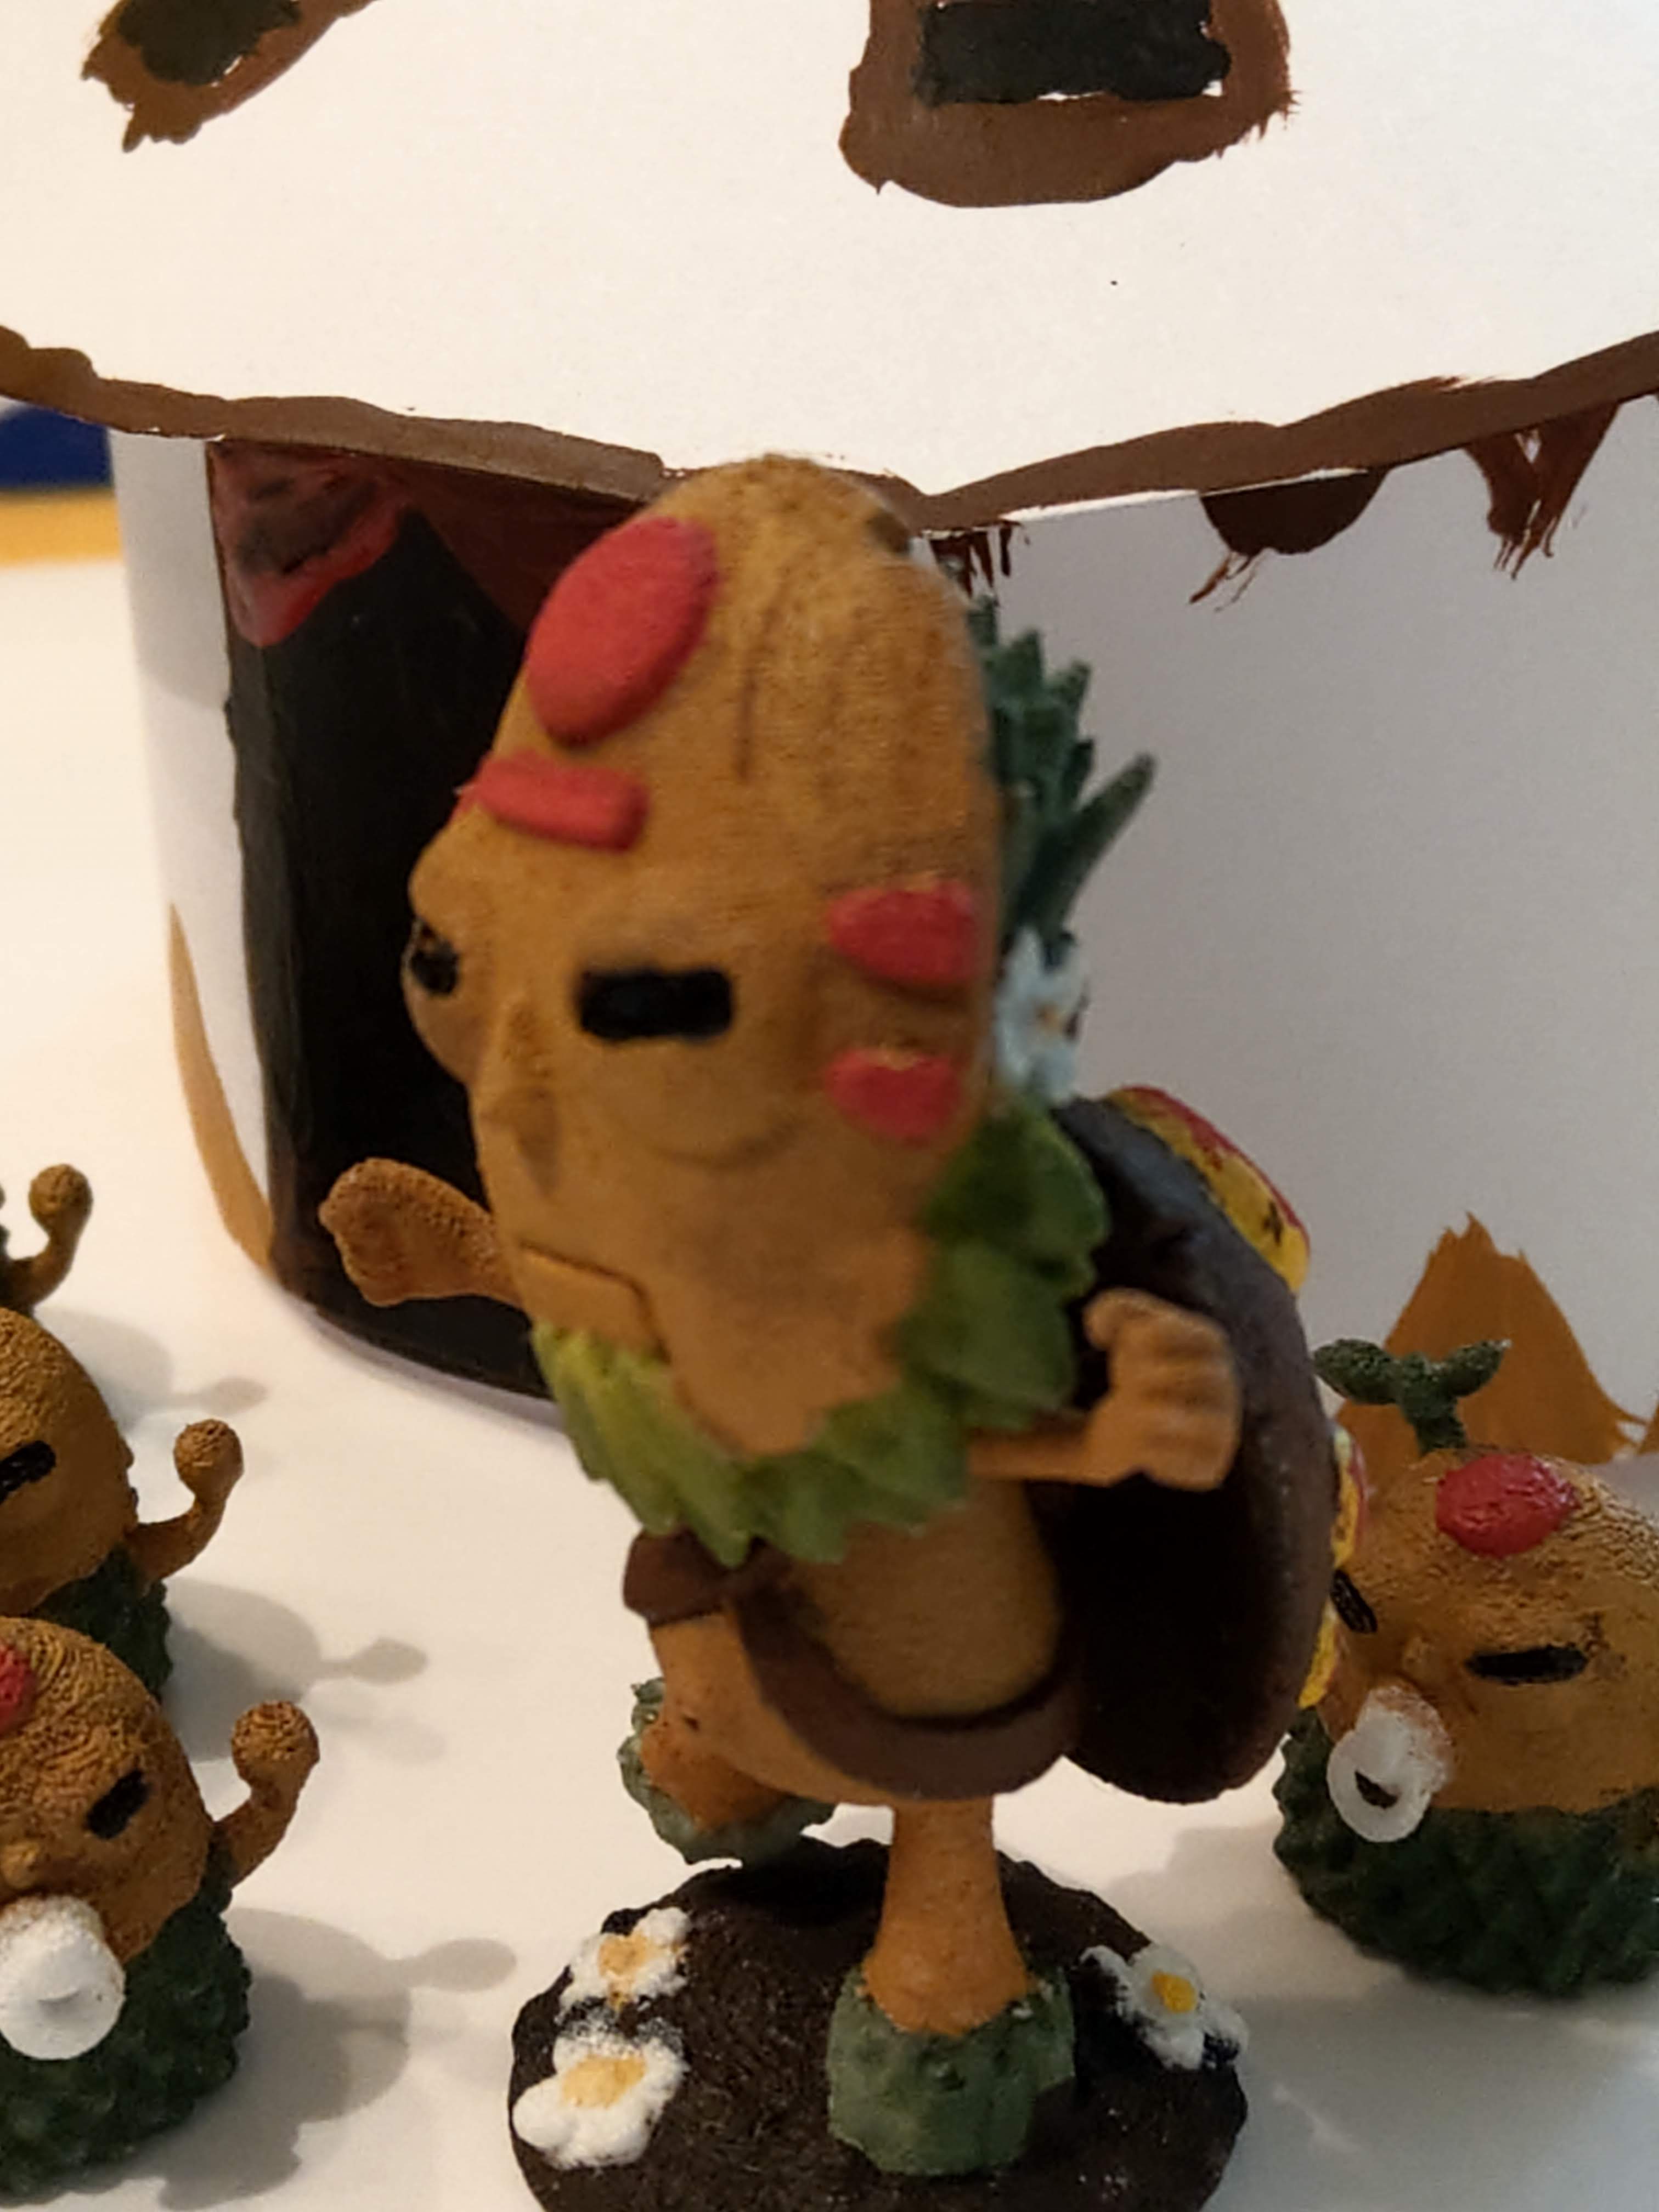
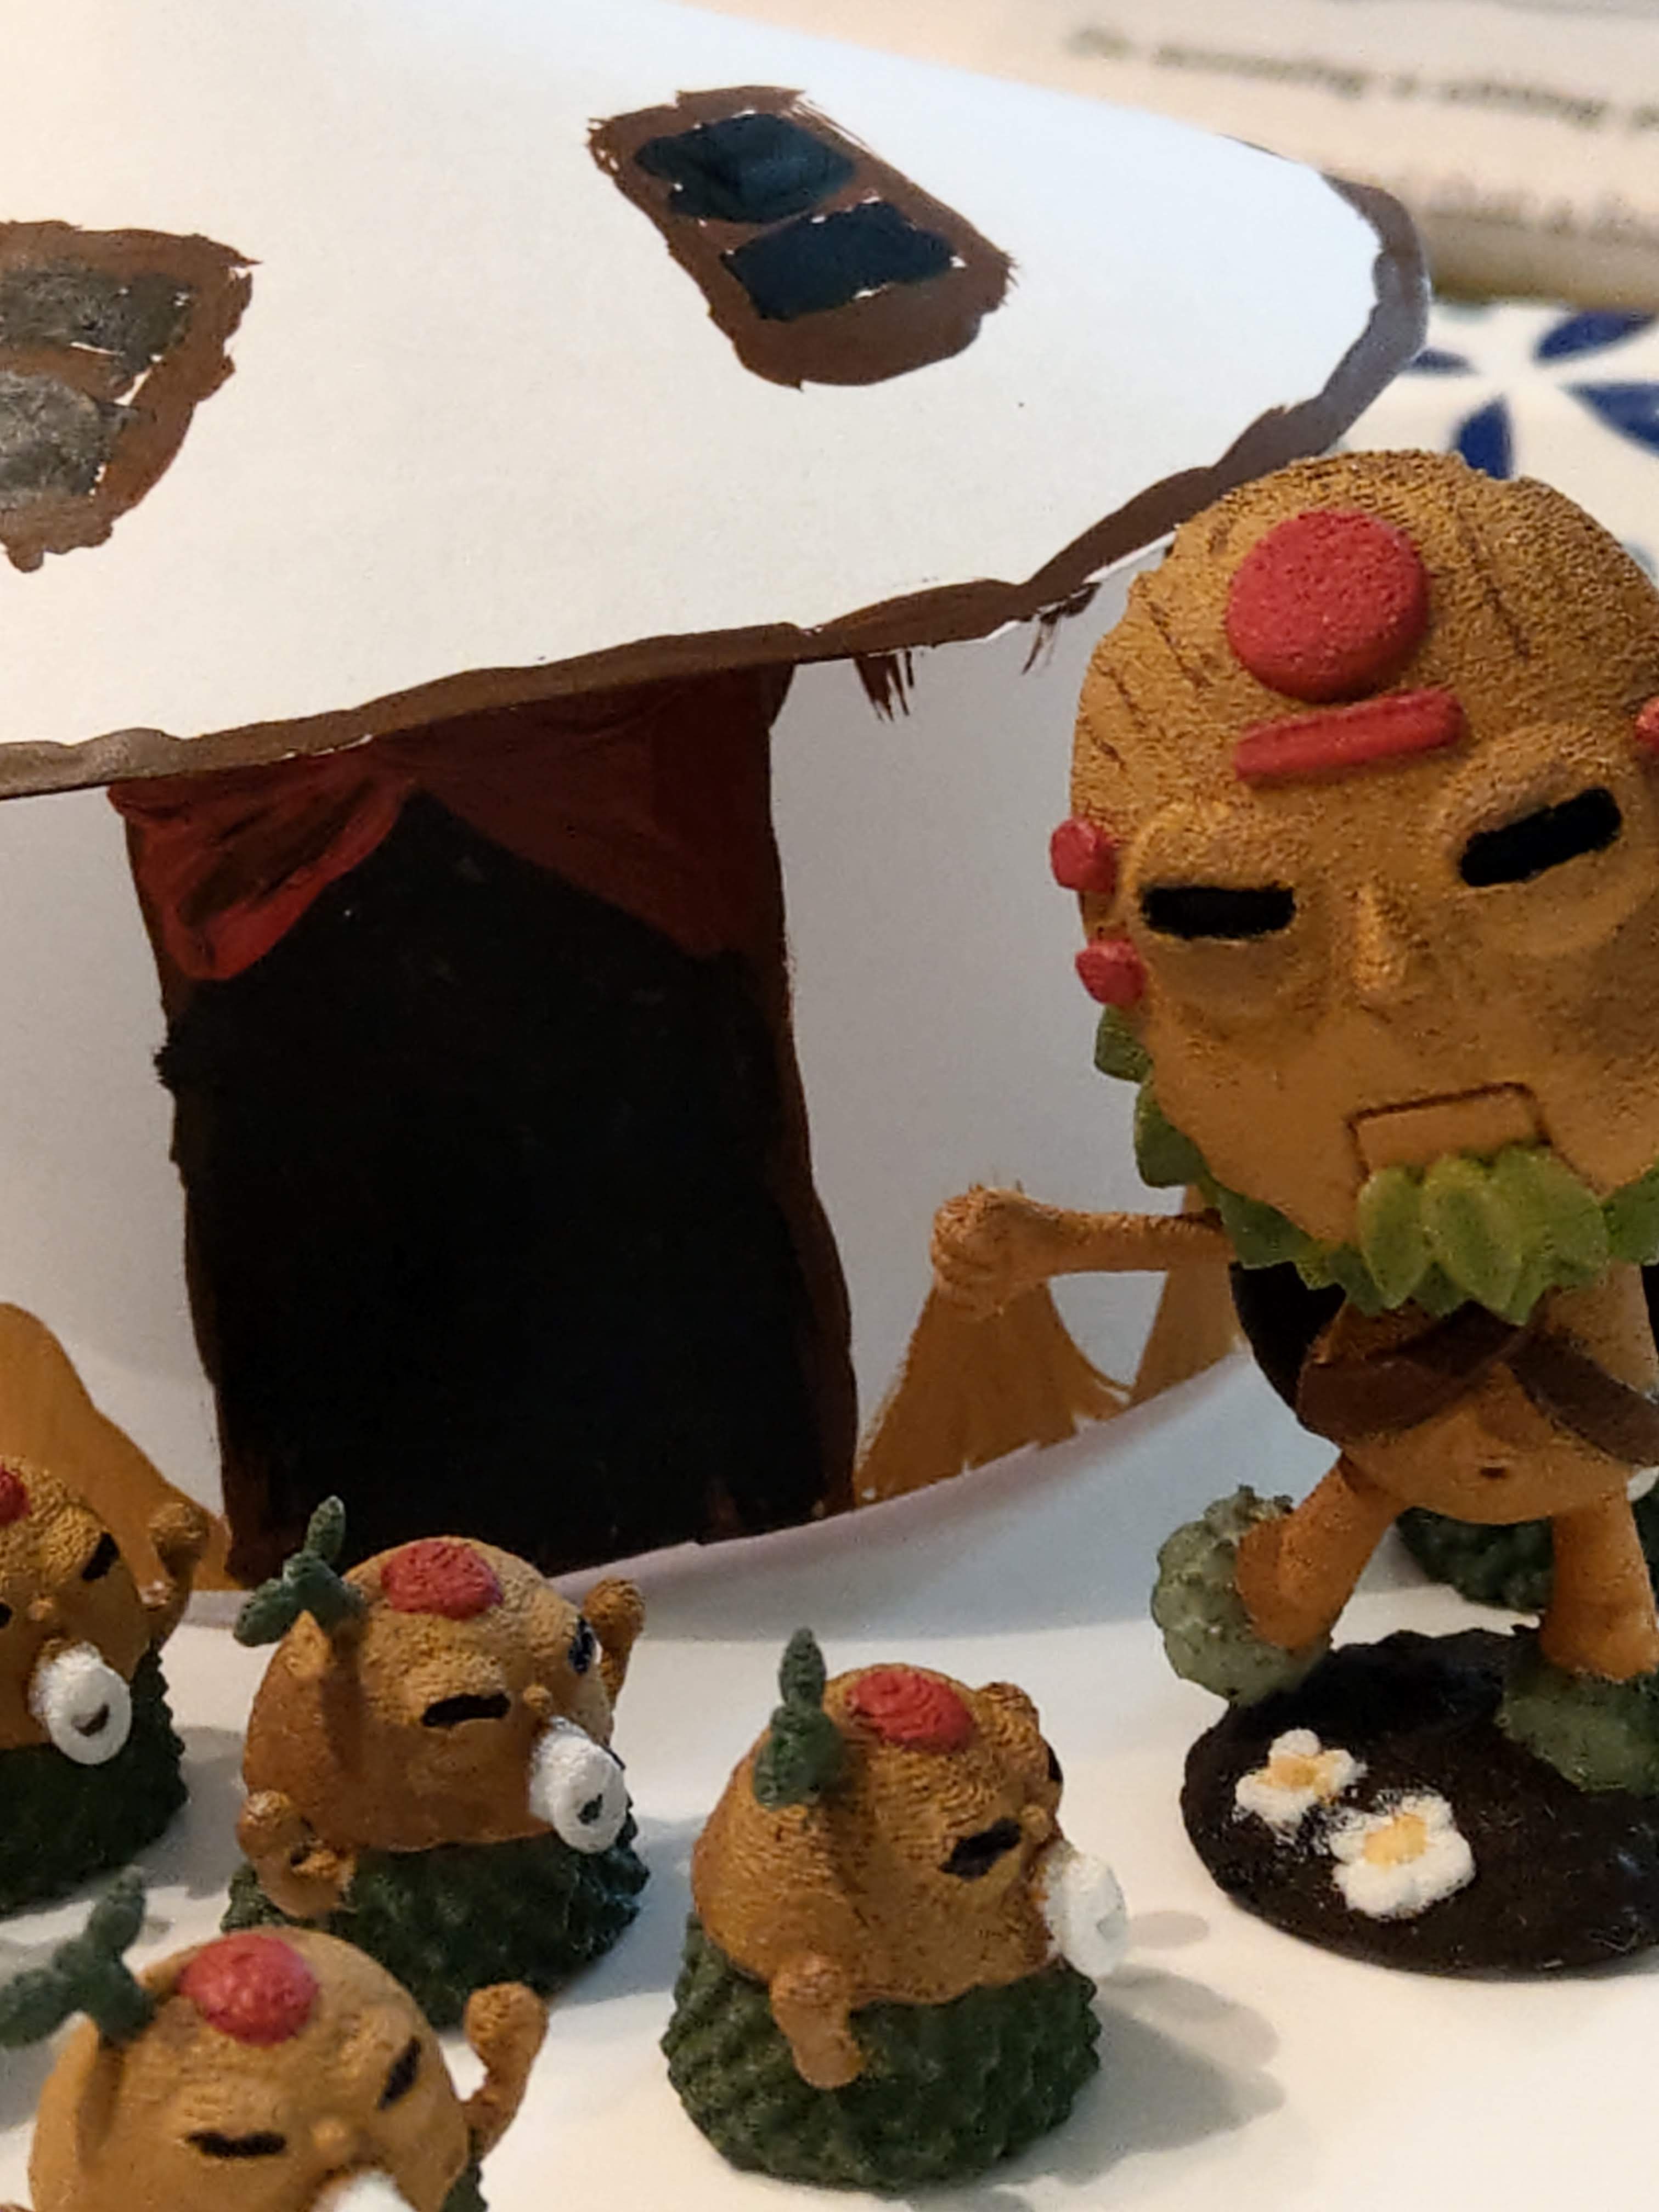


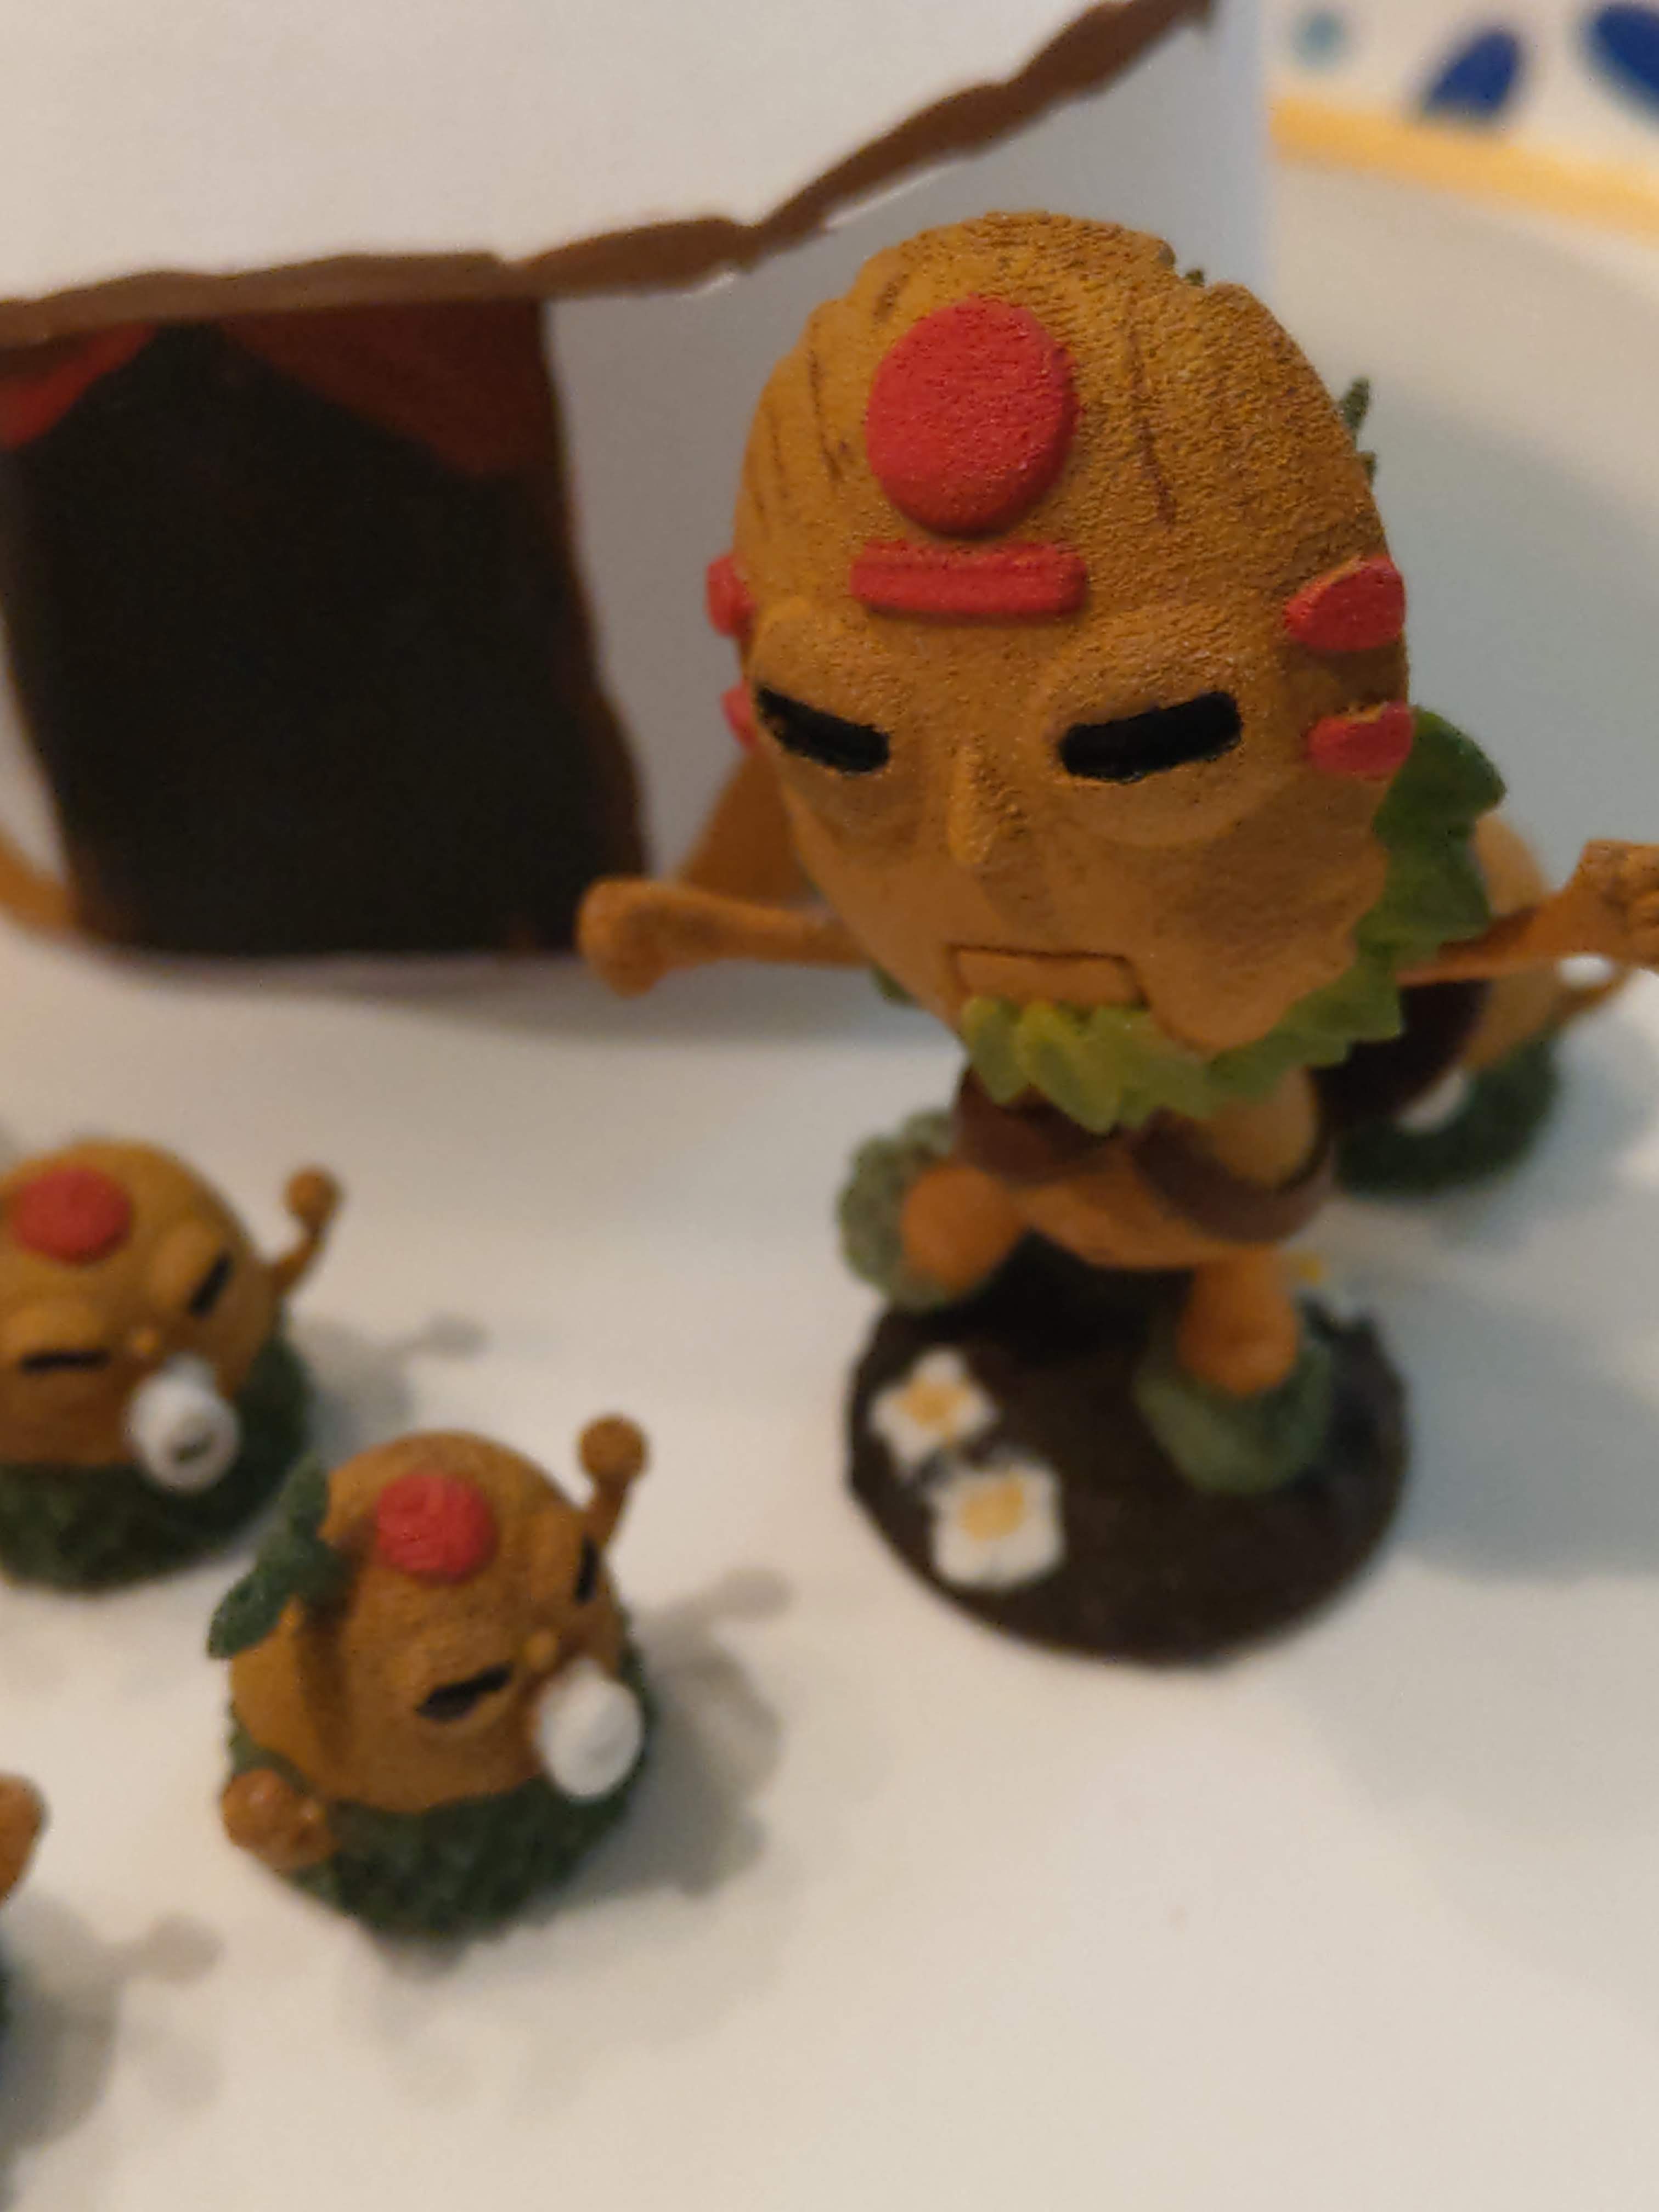
The final mini’s:


Awesome job Tim!